
I love experimenting…no surprise I know. A few weeks back I really wanted give my doors a makeover. I wanted to create an antique looking door out of our office door which we added during renovation. Everything I found on the internet had a pretty intense and long process which I didn’t want to do. I also wanted to do it the same day I thought of painting the door so ordering a whole bunch of paint and material was not something that piqued my interest. After brainstorming ways I could give my door an antique look that same night a lightbulb went off, BINGO!
I remembered a long time ago I came across this cool weathered glaze when strolling around Lowe’s. Yes, I do that…I always tell Shawn I want to go there for one thing knowing I want walk around every isle for ideas LOL. I used chalk paint on the inside of the fireplace and milk paint on the little shelf in my bathroom so I knew I wanted to use that because I love the look. Once I did the first door, I fell in love. I decided every door in our house is going to get a makeover. #2021 AMIRIGHT?!
Anyways..I’m rambling a lot but here’s the process!

MATERIALS
-
Chip brush – 3” for large coverage 1 1/2” for details. You don’t need anything fancy, home improvement stores sell them in stores for $2 or less. I love using chip brushes because it gives you that thick brush affect!
-
Chalky paint – they have a ton of colors you can tint to! The color I’m using is ‘quail egg’
-
Tape – I used frog tape for the hardware. I really dislike taping lol
HOW TO
-
Prep the surface you plan to paint as you please. I tried sanding one side of the door vs no prep and honestly there was no difference for me!
-
Paint 2/3 coats on the surface. Let each coat fully dry before painting the next. One coat dries in about 1 hour.
-
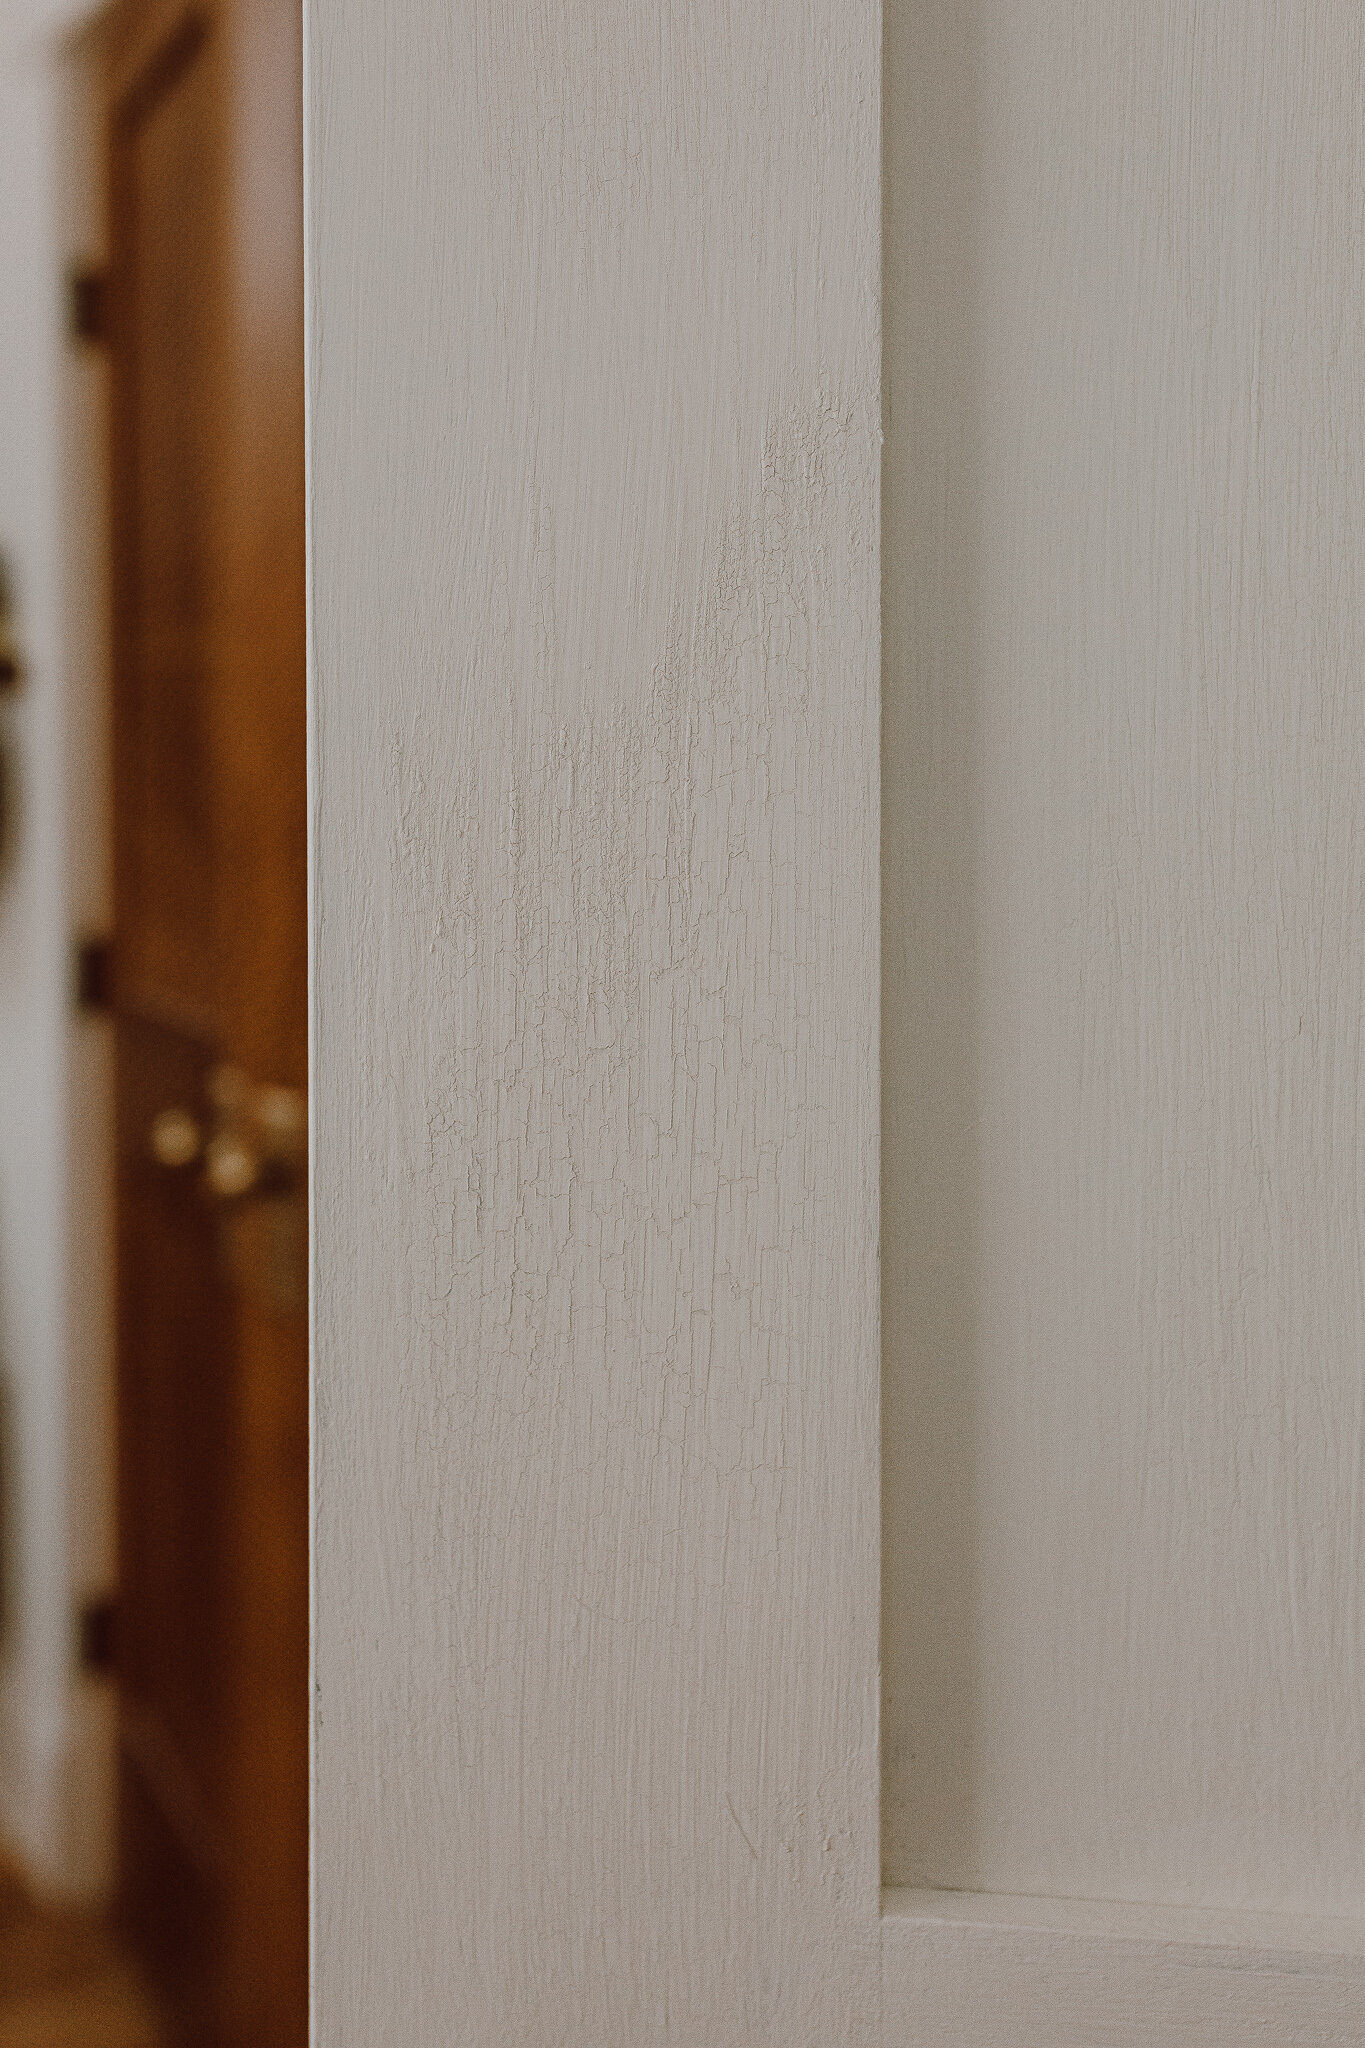
Paint your glaze! The thicker you paint the glaze on, the thicker/larger the cracks will be. Also, the glaze does effect the shade of your paint so if you want a solid color make sure to paint the full surface. Otherwise there will be a lot of highs and lows!
-
*Wait for the glaze to fully dry before moving on to the next step. I let mine dry for about 4 hours, sometimes I waited overnight.
-
Paint the final coat of your chalky paint. You want to do this relatively fast before the paint starts to react to the glaze. Try not to paint multiple strokes over one area, it’s a little tricky but if you keep working into the area the paint starts to crumble a little.
-
Now all you have to do is watch your project transform and crackle!
-
Once everything dries I go back and do any detailing. I wait a while to do this step since I don’t want to mess up the cracks!
You can also create a high/low look by painting the first few coats one color and then doing 1/2 coats after your glaze in another color!
That’s all! Let me know if you try this project. BTW – you don’t have to do this on just your doors, I plan to do it on decor too!
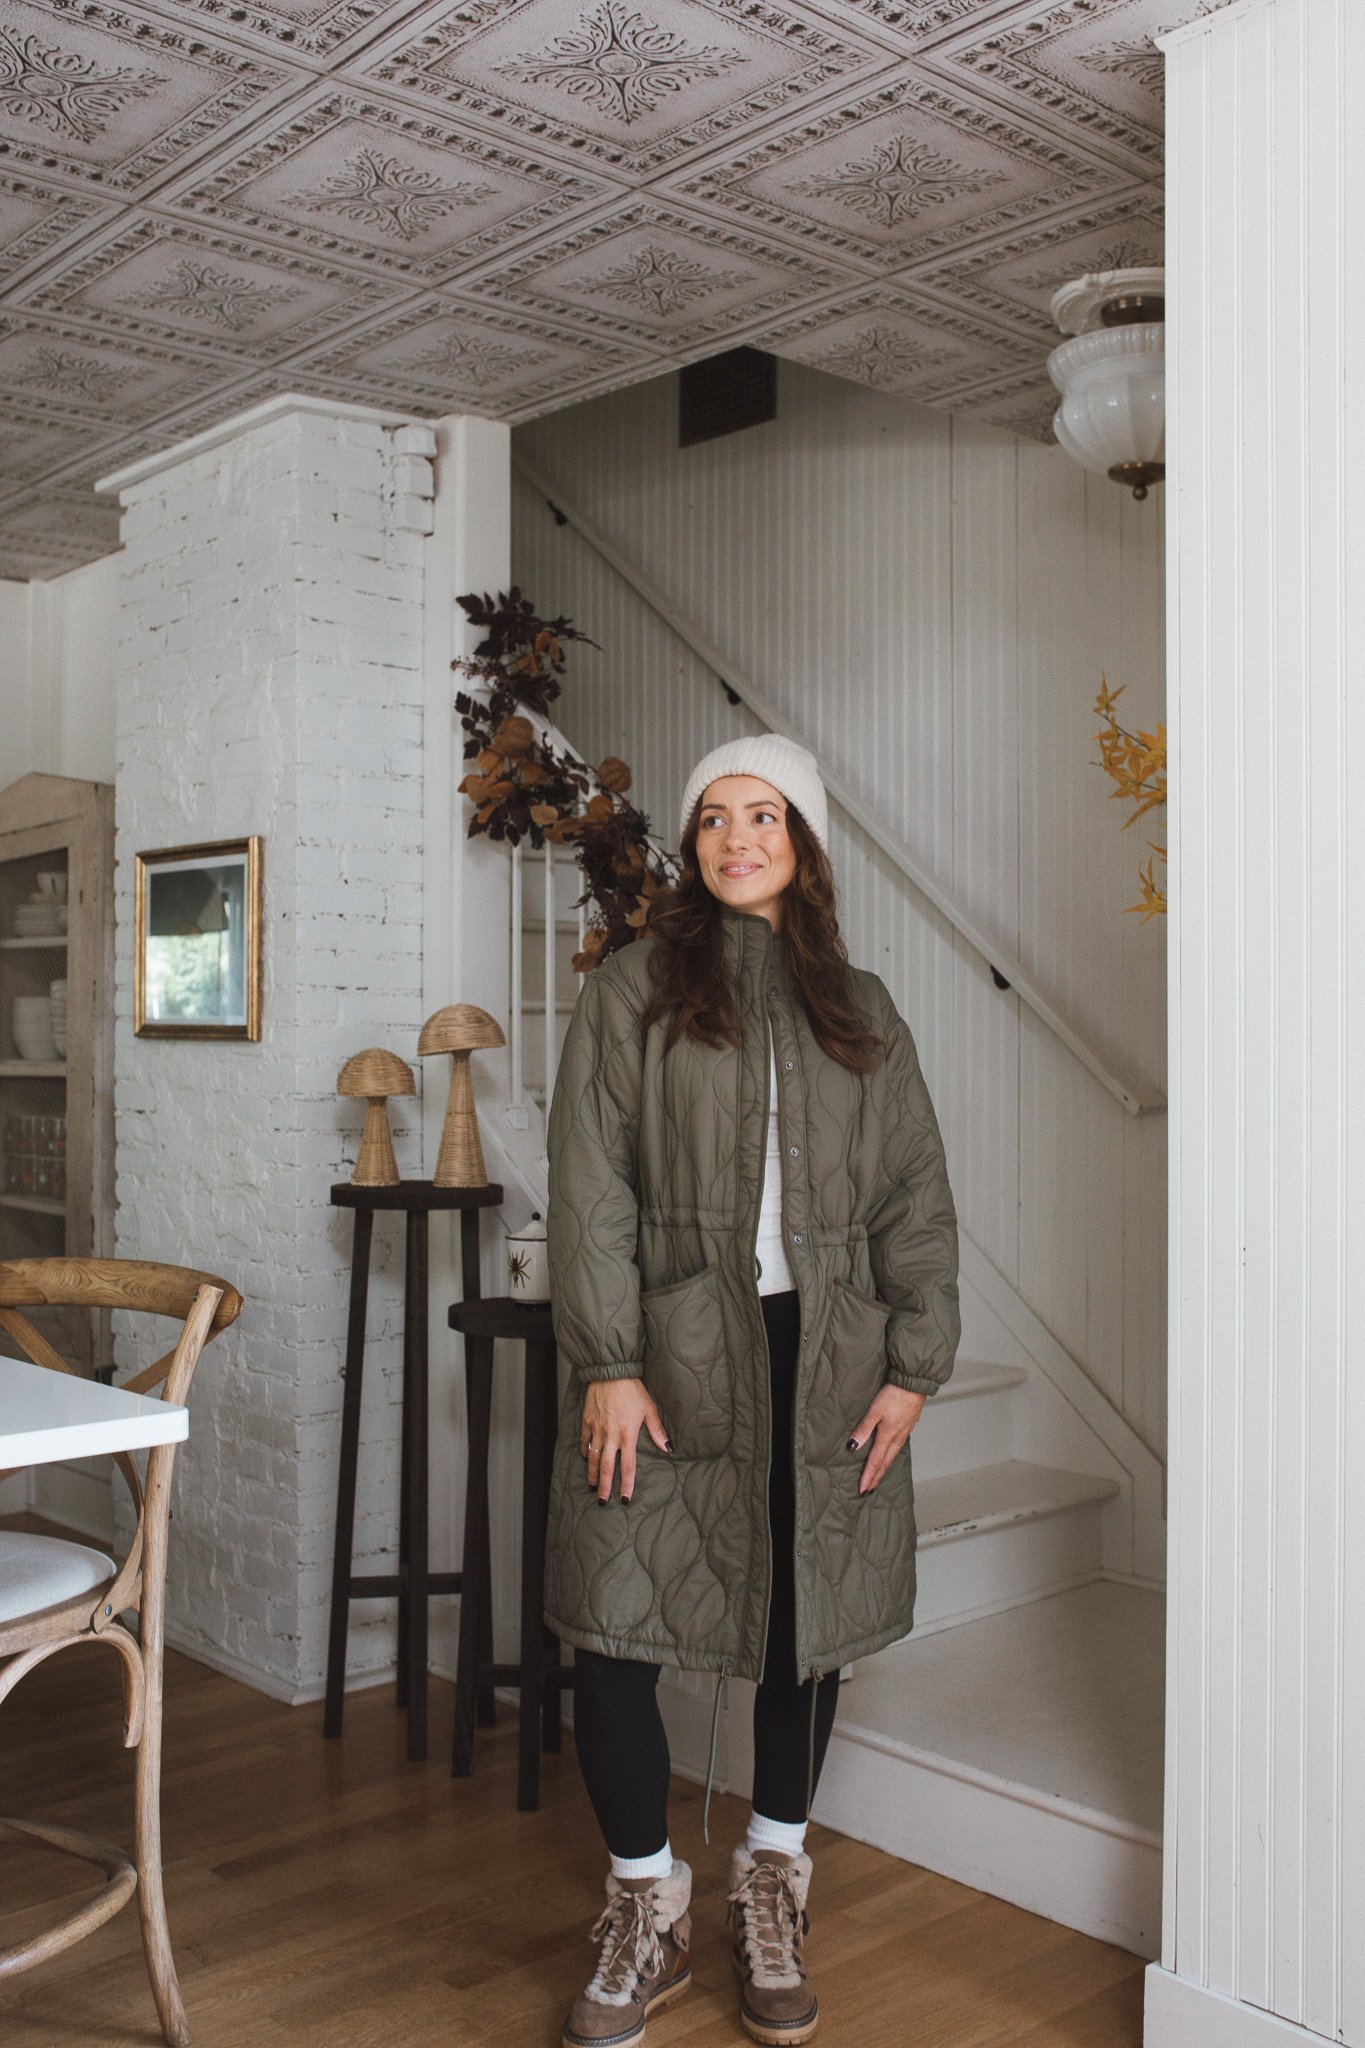
Once I finish the penny hallway..this is going to be my absolute favorite view.