Last year, Shawn and I decided we would update our hallway in 2022. Our hallway at the time was not really utilized to its fullest potential and was honestly an unfinished art project for many, many months. So we switched things up!
We decided to go with wood paneling because we wanted to add a lot of interest to the walls. The rooms attached to the hallway are our master bedroom which is shiplap, my work room which is a plaster look-a-like (molding paste), zuri’s room (bunny) and our bathroom. Beadboard felt like a no-brainer to us! We’ve used the same brand of beadboard from Lowe’s throughout our house, both cedar, and pine! The boards are sold in packs and are 8’ tall. One pack covers 14 sq. ft. This is helpful when you’re doing the initial plan to see how many packs you’ll need! It’s also 1/4” thick so it’s really easy to cut and work with (for my FIL haha).
Since we already had all of the tools, the total cost for this project was $572. This price includes paint samples and the final paint, paint supplies, caulk, beadboard planks, shelf material, and hooks. If you need to purchase a brad nailer or miter saw your project will increase quite a bit depending on the brand you purchase!
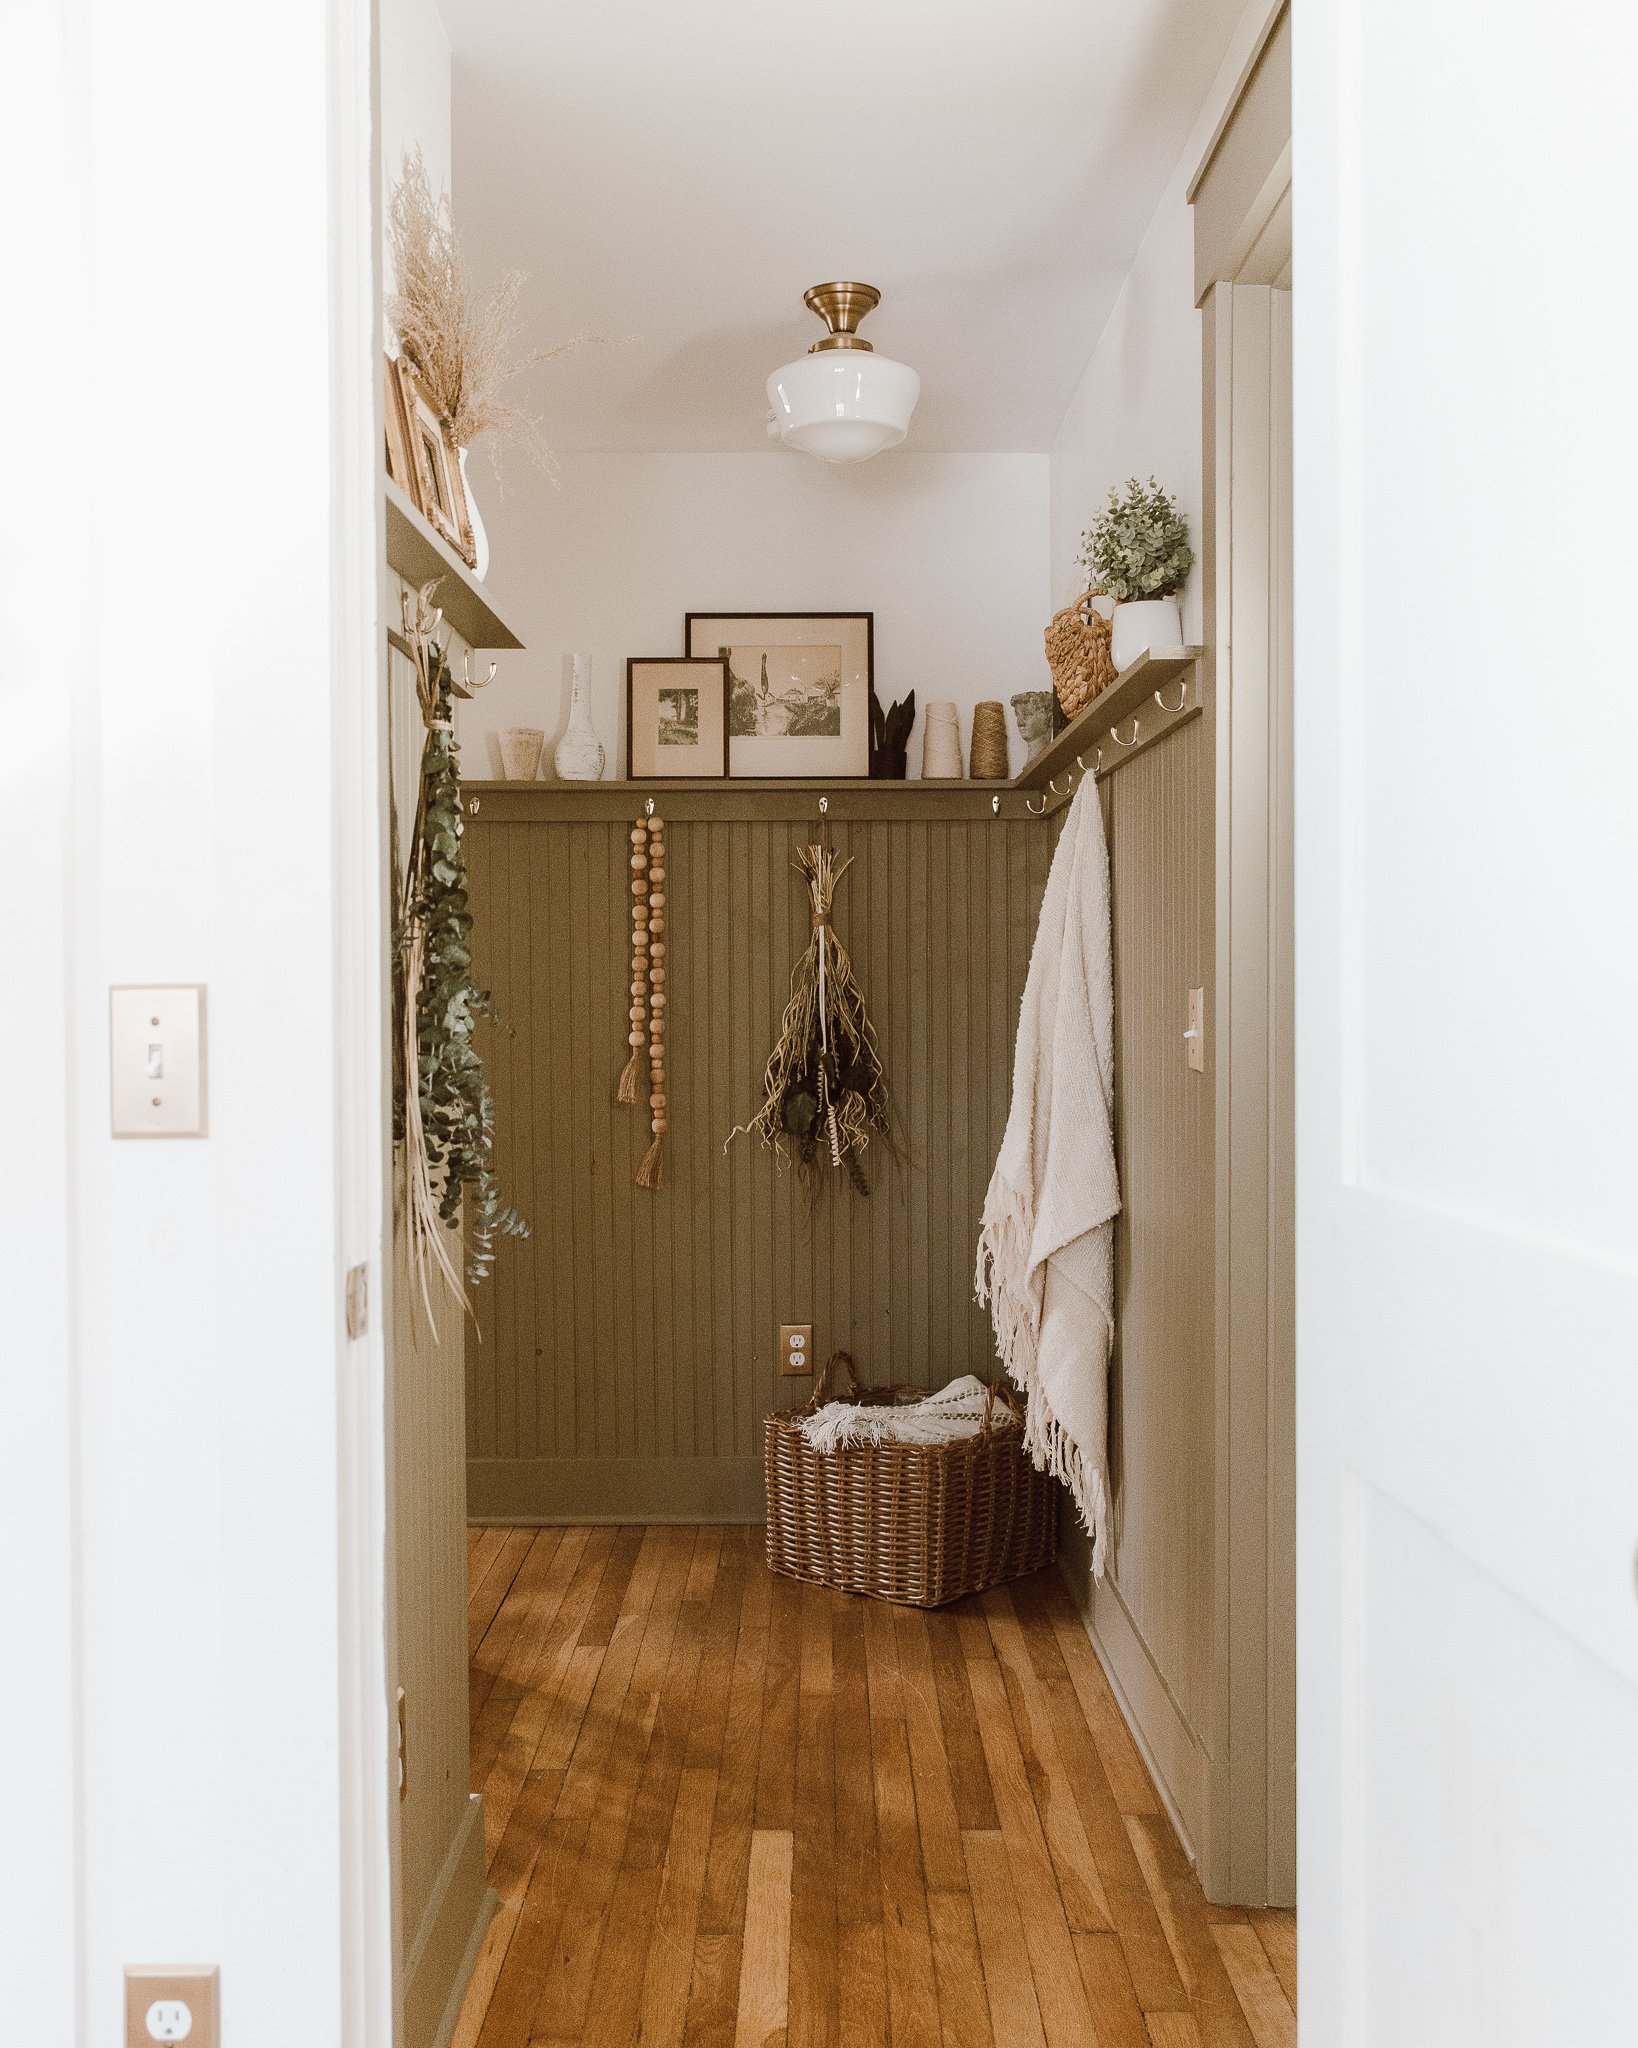
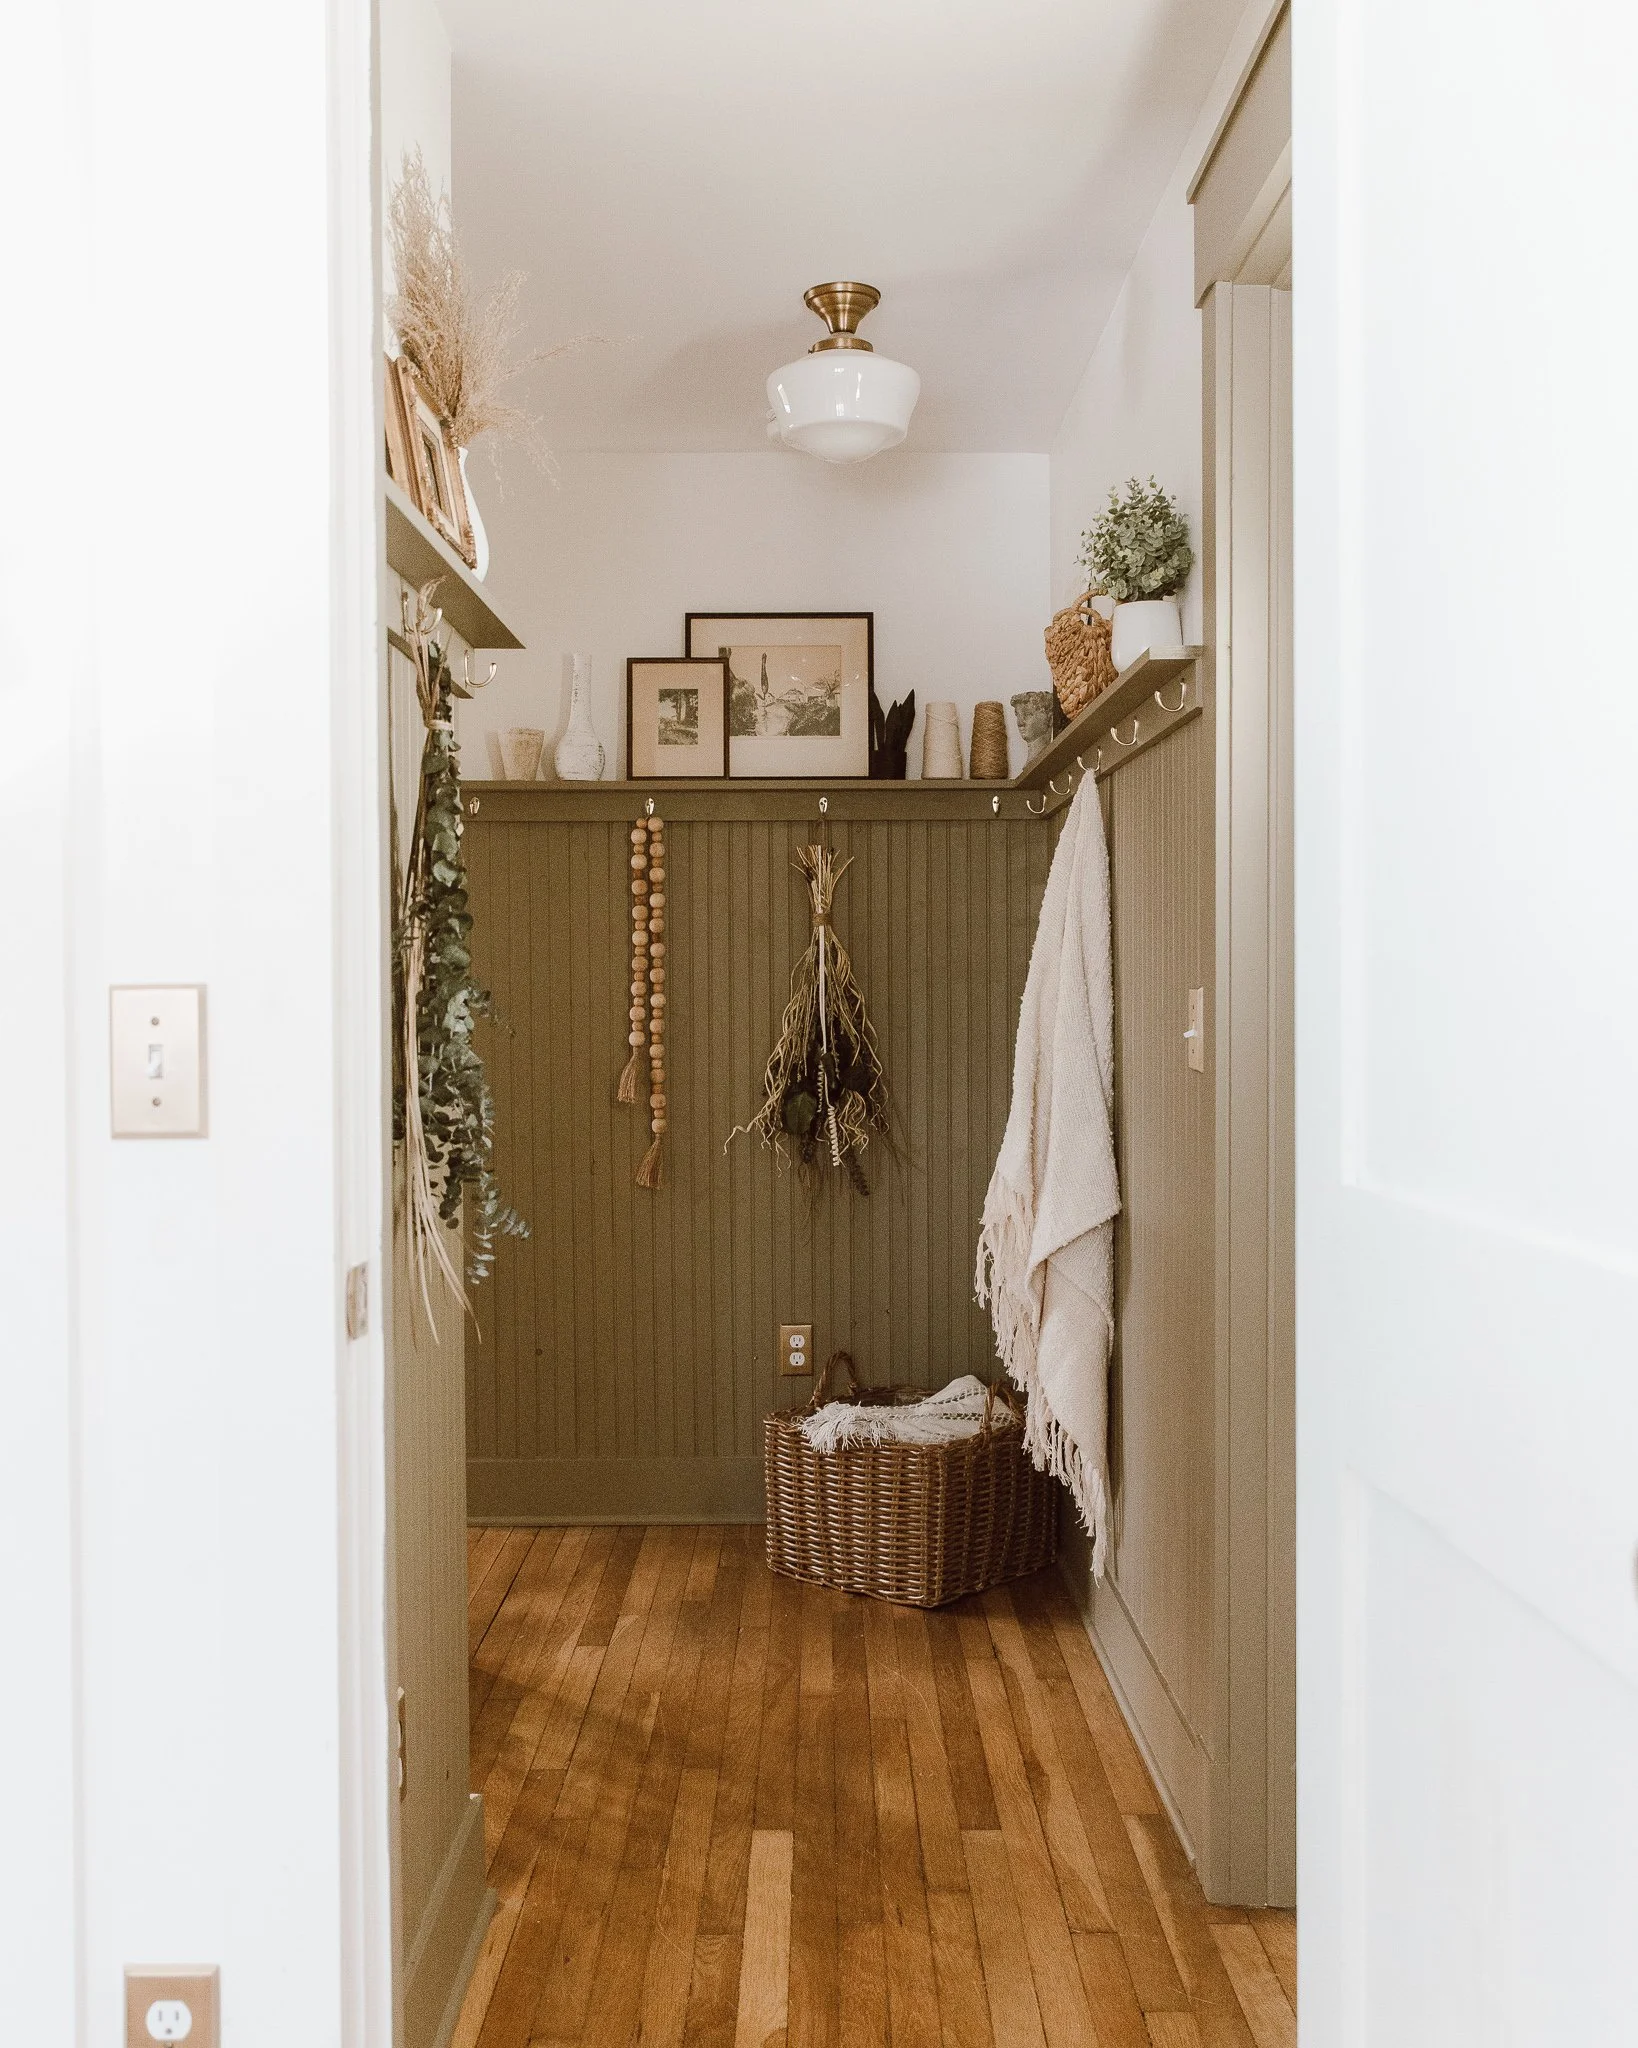
Moving along! I didn’t want to do a full wall of beadboard because I’ve done that already in our house (I’ve even done beadboard walls AND ceiling haha) and I like to mix things up but still keep some consistency! I decided to go about 2/3 up the wall, 65” to be exact. ☺️
We created a mini shelf that was inspired by the below devol photo, I love how they had pegs under the shelf! I thought this type of detail would be great to have in our hallway in case we ever wanted to hang coats or even blankets. I also thought it would be really fun to decorate! We ended up using these gold hooks instead, but same idea as far as function goes. I’m a super visual person so before I installed them, I taped them up with painters tape. To space them out I just took the total length and divided them by however spaces I planned to have, then I taped it up to see if I liked it!

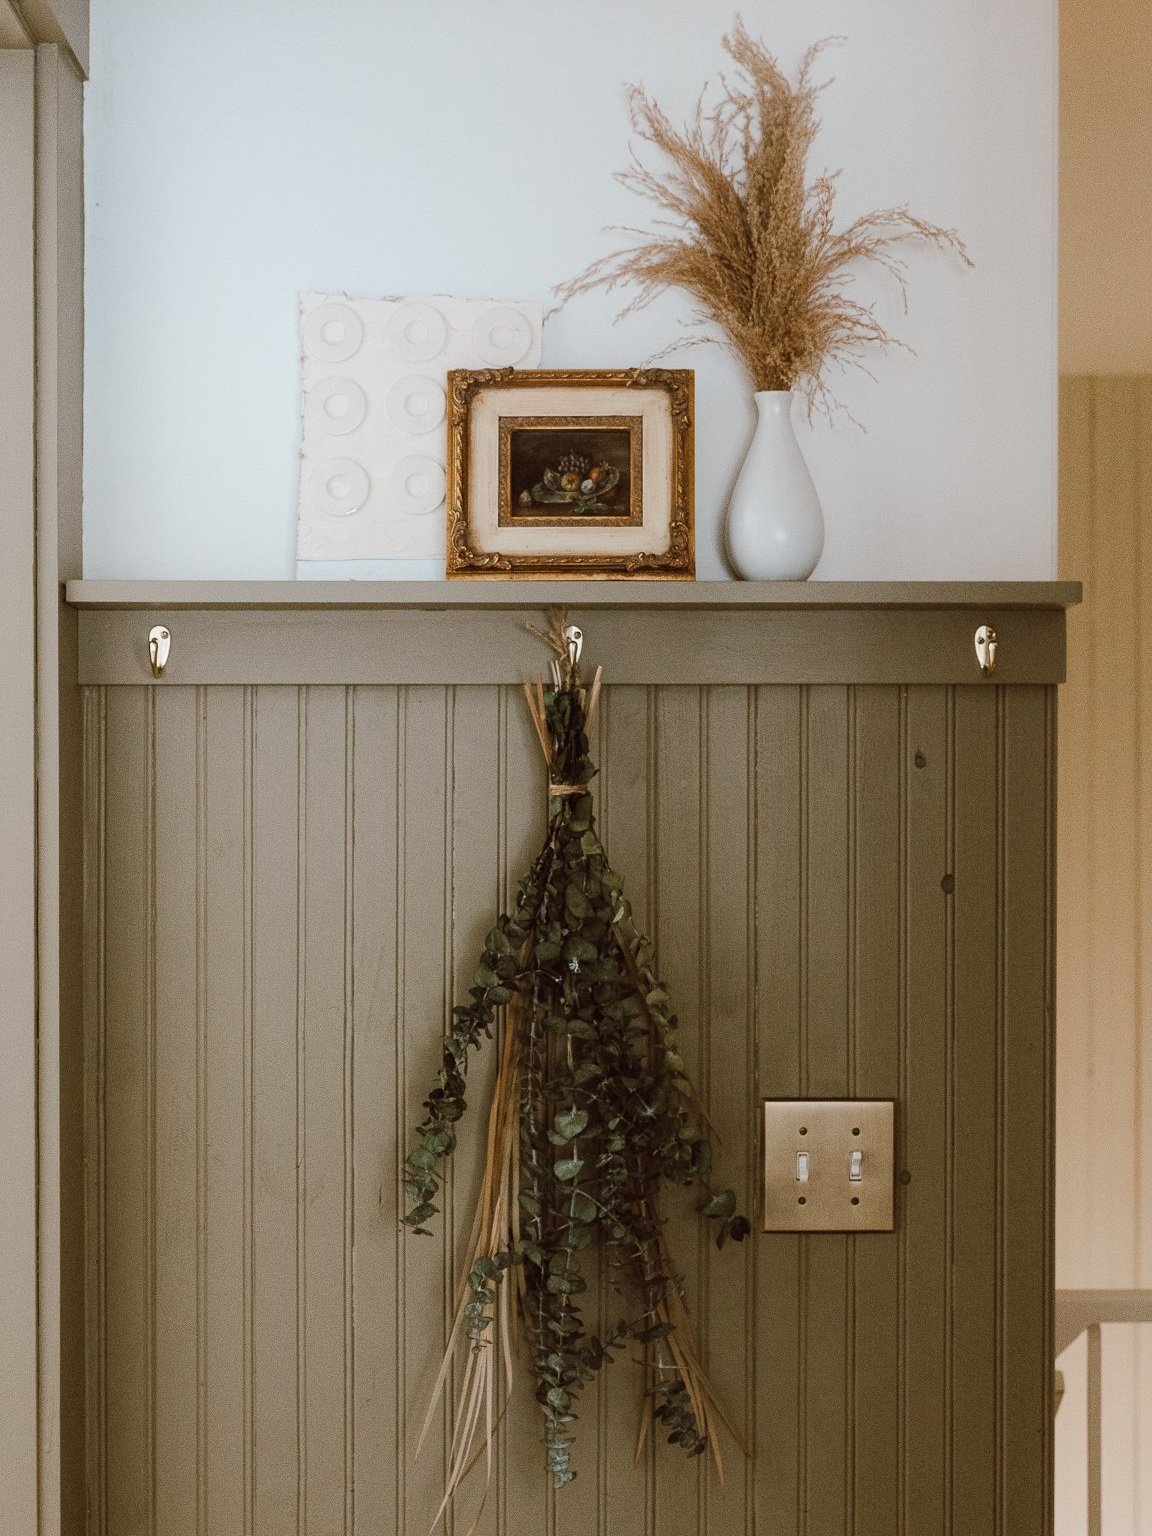
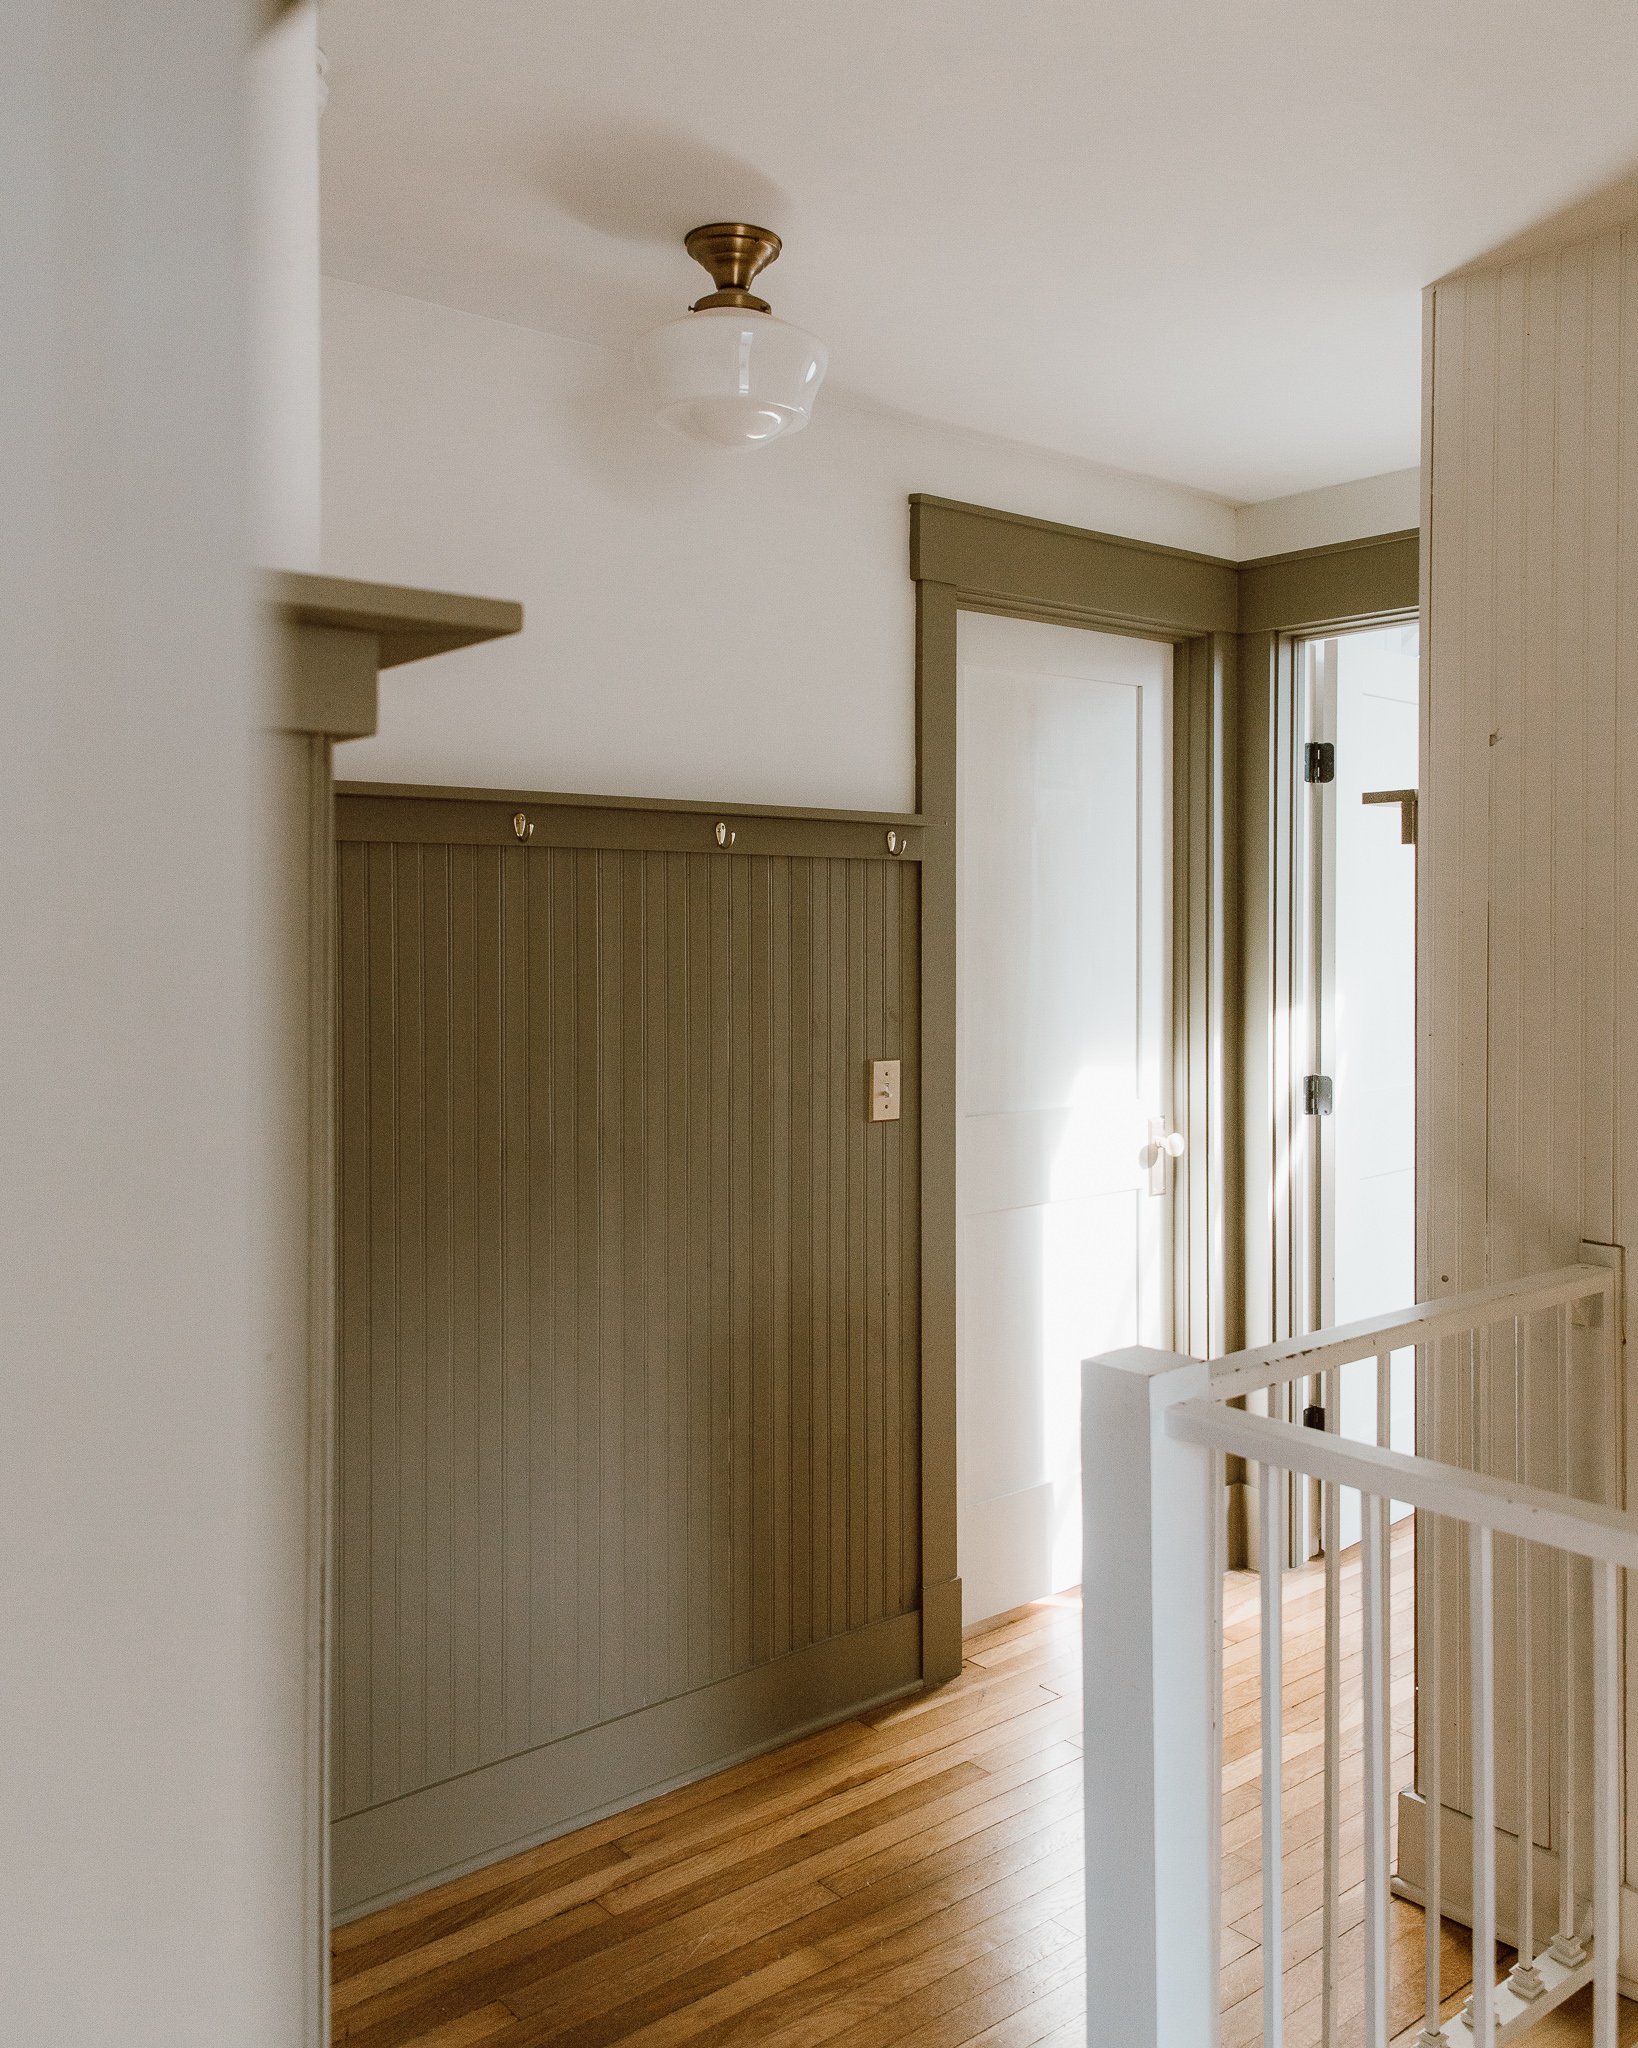
To create the top shelf we used 1×3 primed pine for the underside and 1×4 primed pine for the actual shelf. We installed the 1×3 base right on top of the beadboard that was nailed and glued, so it’s super secure! My FIL used a finish nailer for this. We made sure it was level and then installed. Then, we laid the 1×4 shelf on top of the base and used the nail gun to secure it!
We also mitered the parts of the shelf where the corners meet to give it a seamless look.
I have an IG story highlight that shows the whole process, I think this is a relatively easy project for newer DIY-ers! I personally have no interest in installing beadboard or any paneling myself, I enjoy design and painting…so that’s what I do! We’ve hired out for shiplap install before (master bedroom) but I appreciate my father-in-law so much for helping us install so much of the more recent paneling projects! I think going 2/3 – 3/4 up would be a great project to start with for newer DIYers because you are doing one single cut to the height you want on the 8’ boards. If you have ceilings that are higher than 8’ and you want to do a full wall of beadboard, you’d have to piece it in, which could be more difficult!
For color, I went with Hampshire Grey by Benjamin Moore in eggshell finish. It’s not grey at all haha so the name is a little misleading! It’s a beautiful olive. Going with a color here brought so much character to the hallway! I decided to paint all of the trim in this room because I didn’t want it to look choppy with white trim and then a bold green 2/3 up. Painting all of the trim created a nice flow and a seamless look.
Overall, this was one of the quickest projects we’ve done that made a huge impact on the second floor. Here are all of the tools we used, I hope it’s helpful for your future projects!
Materials
-
Glue (liquid nails)
-
Brad nailer (to install beadboard)
-
Finish nailer (to install shelf)
-
Miter saw (great price compared to other hardware stores!)
-
Paint, your choice!
-
Paint roller (walls)
-
Paint roller (trim)
-
Paint roller cover (walls)
-
Paint roller cover (trim)
-
Paint shield, IYKYK