I’m so excited to share one of my favorite projects on the blog! I’m sharing how I added visual texture to our walls using Roman Clay from Portola Paints. I will go over why I chose this, how to apply roman clay, my tips, and answer your FAQs. If you’ve been thinking about using Roman Clay in your home—this is the post for you!! Let’s dive in.
Why I Chose Roman Clay?
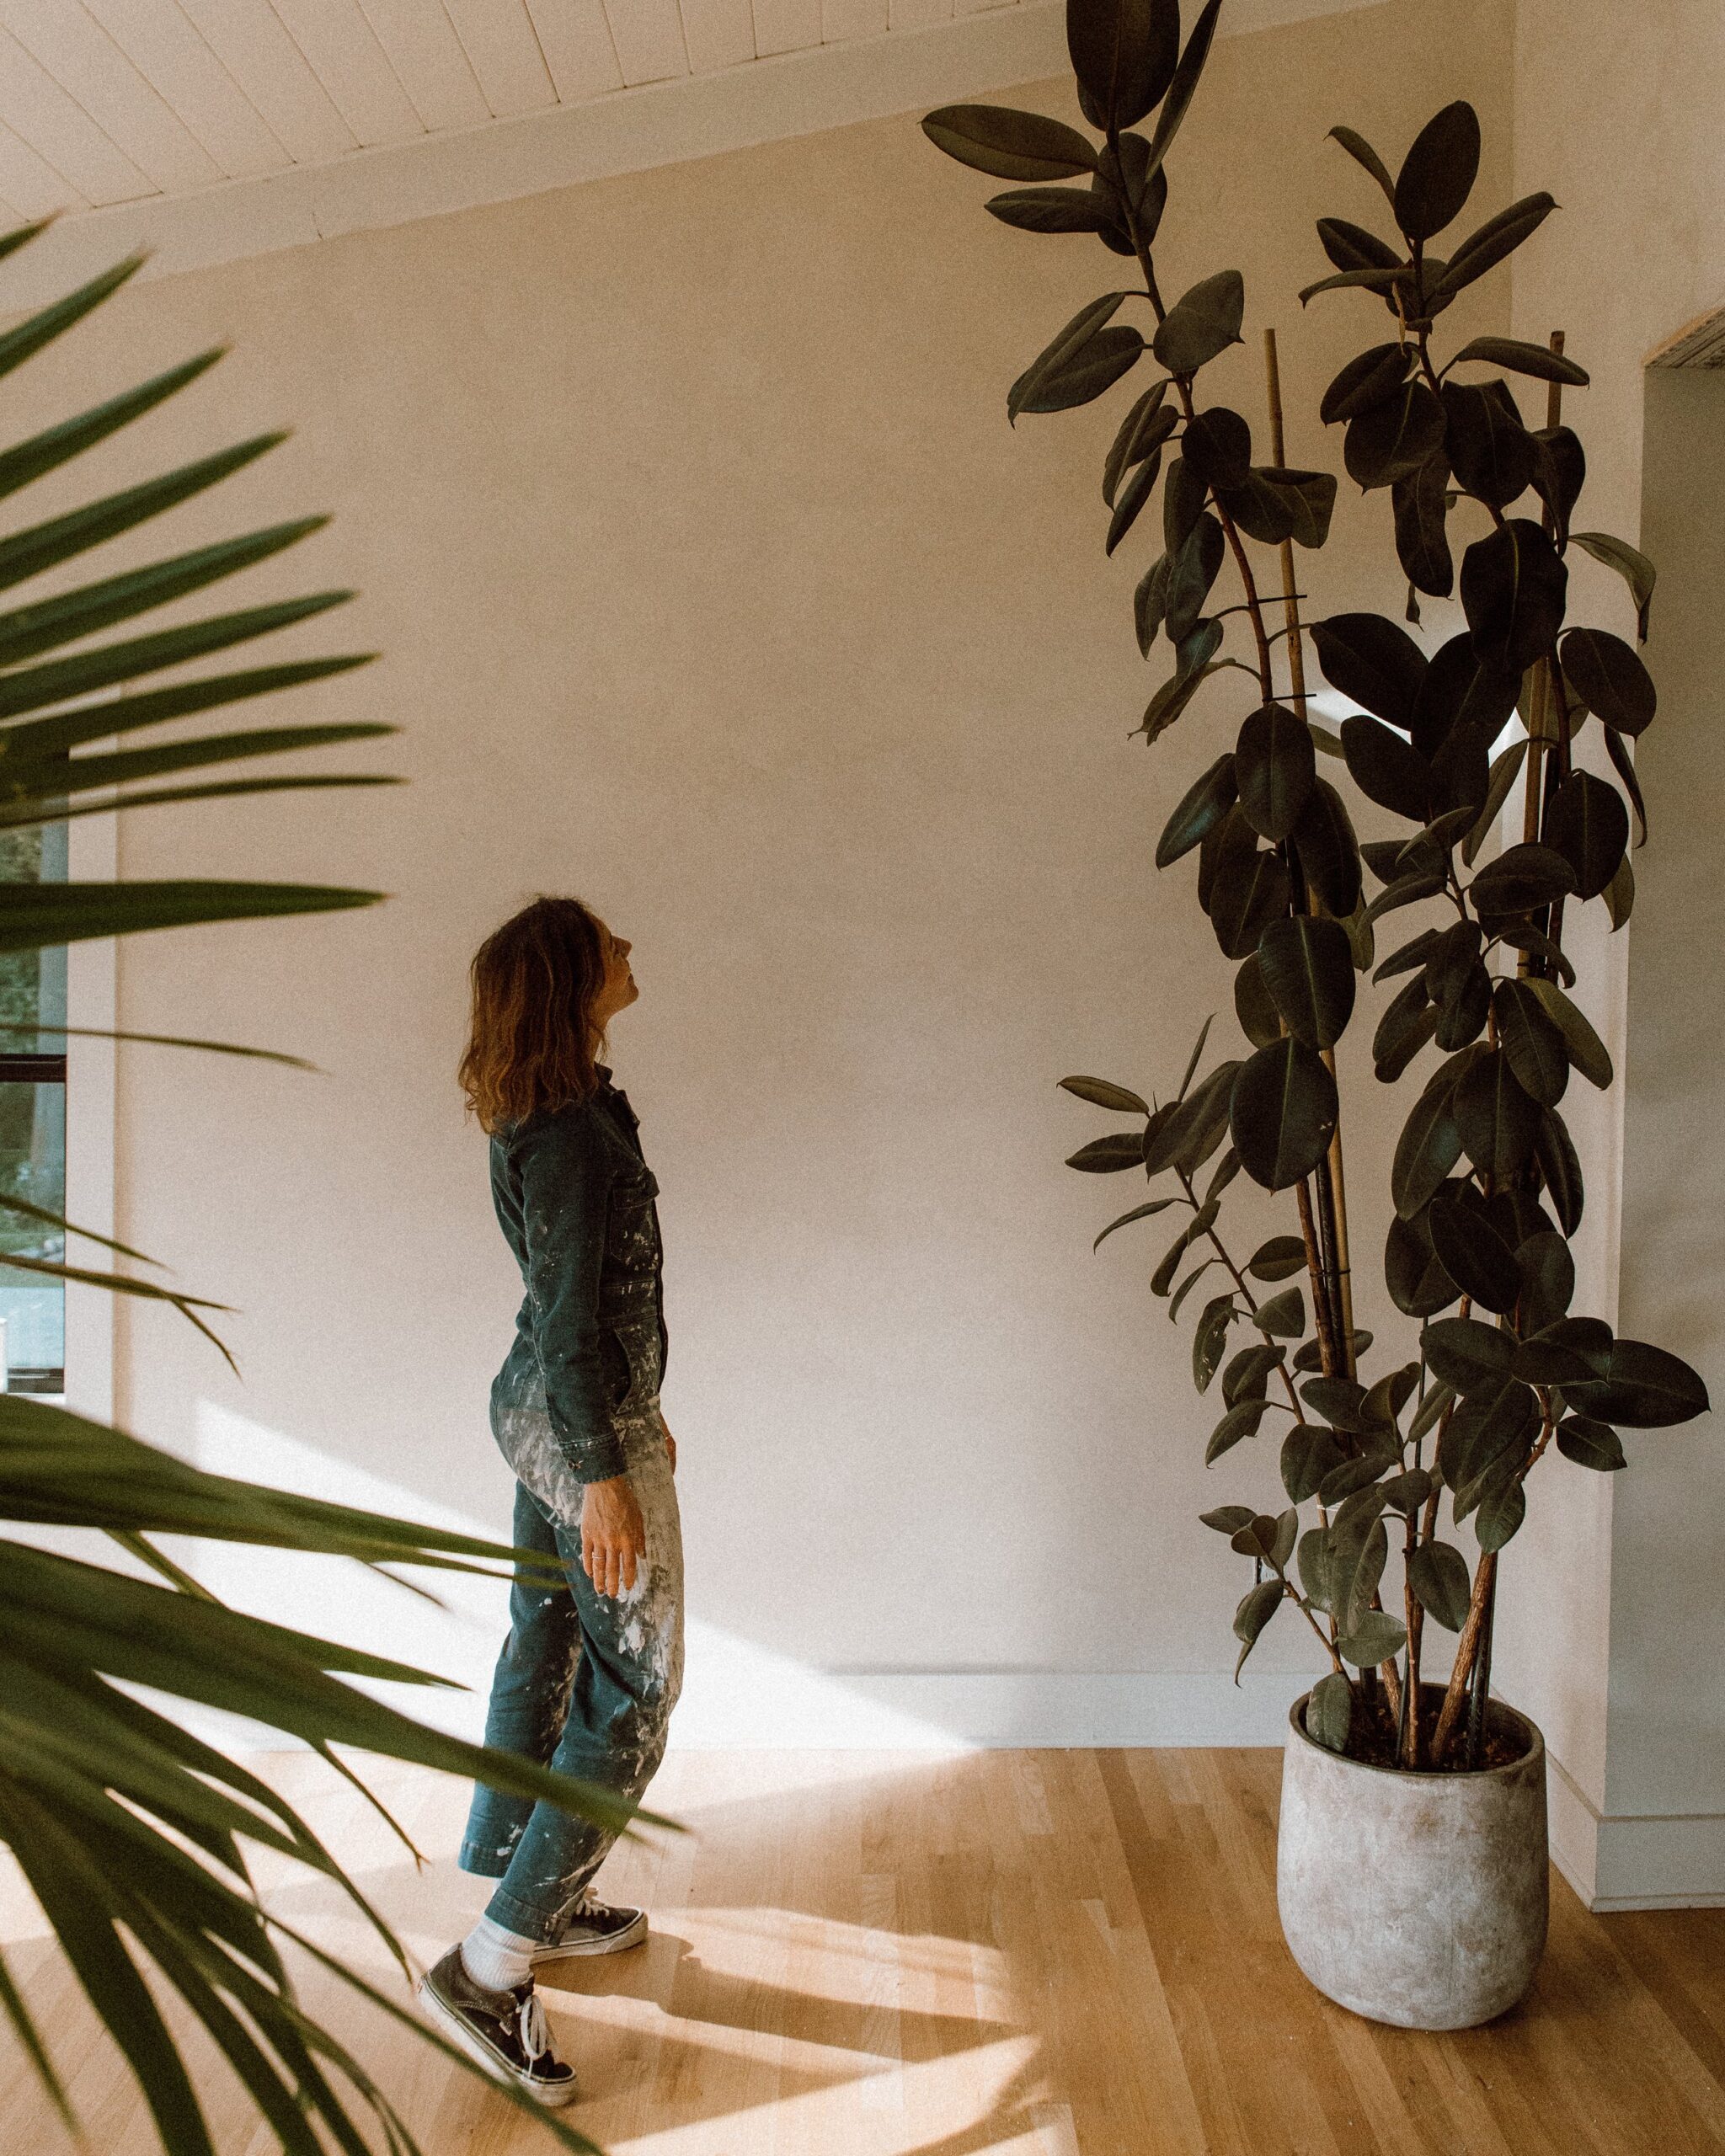
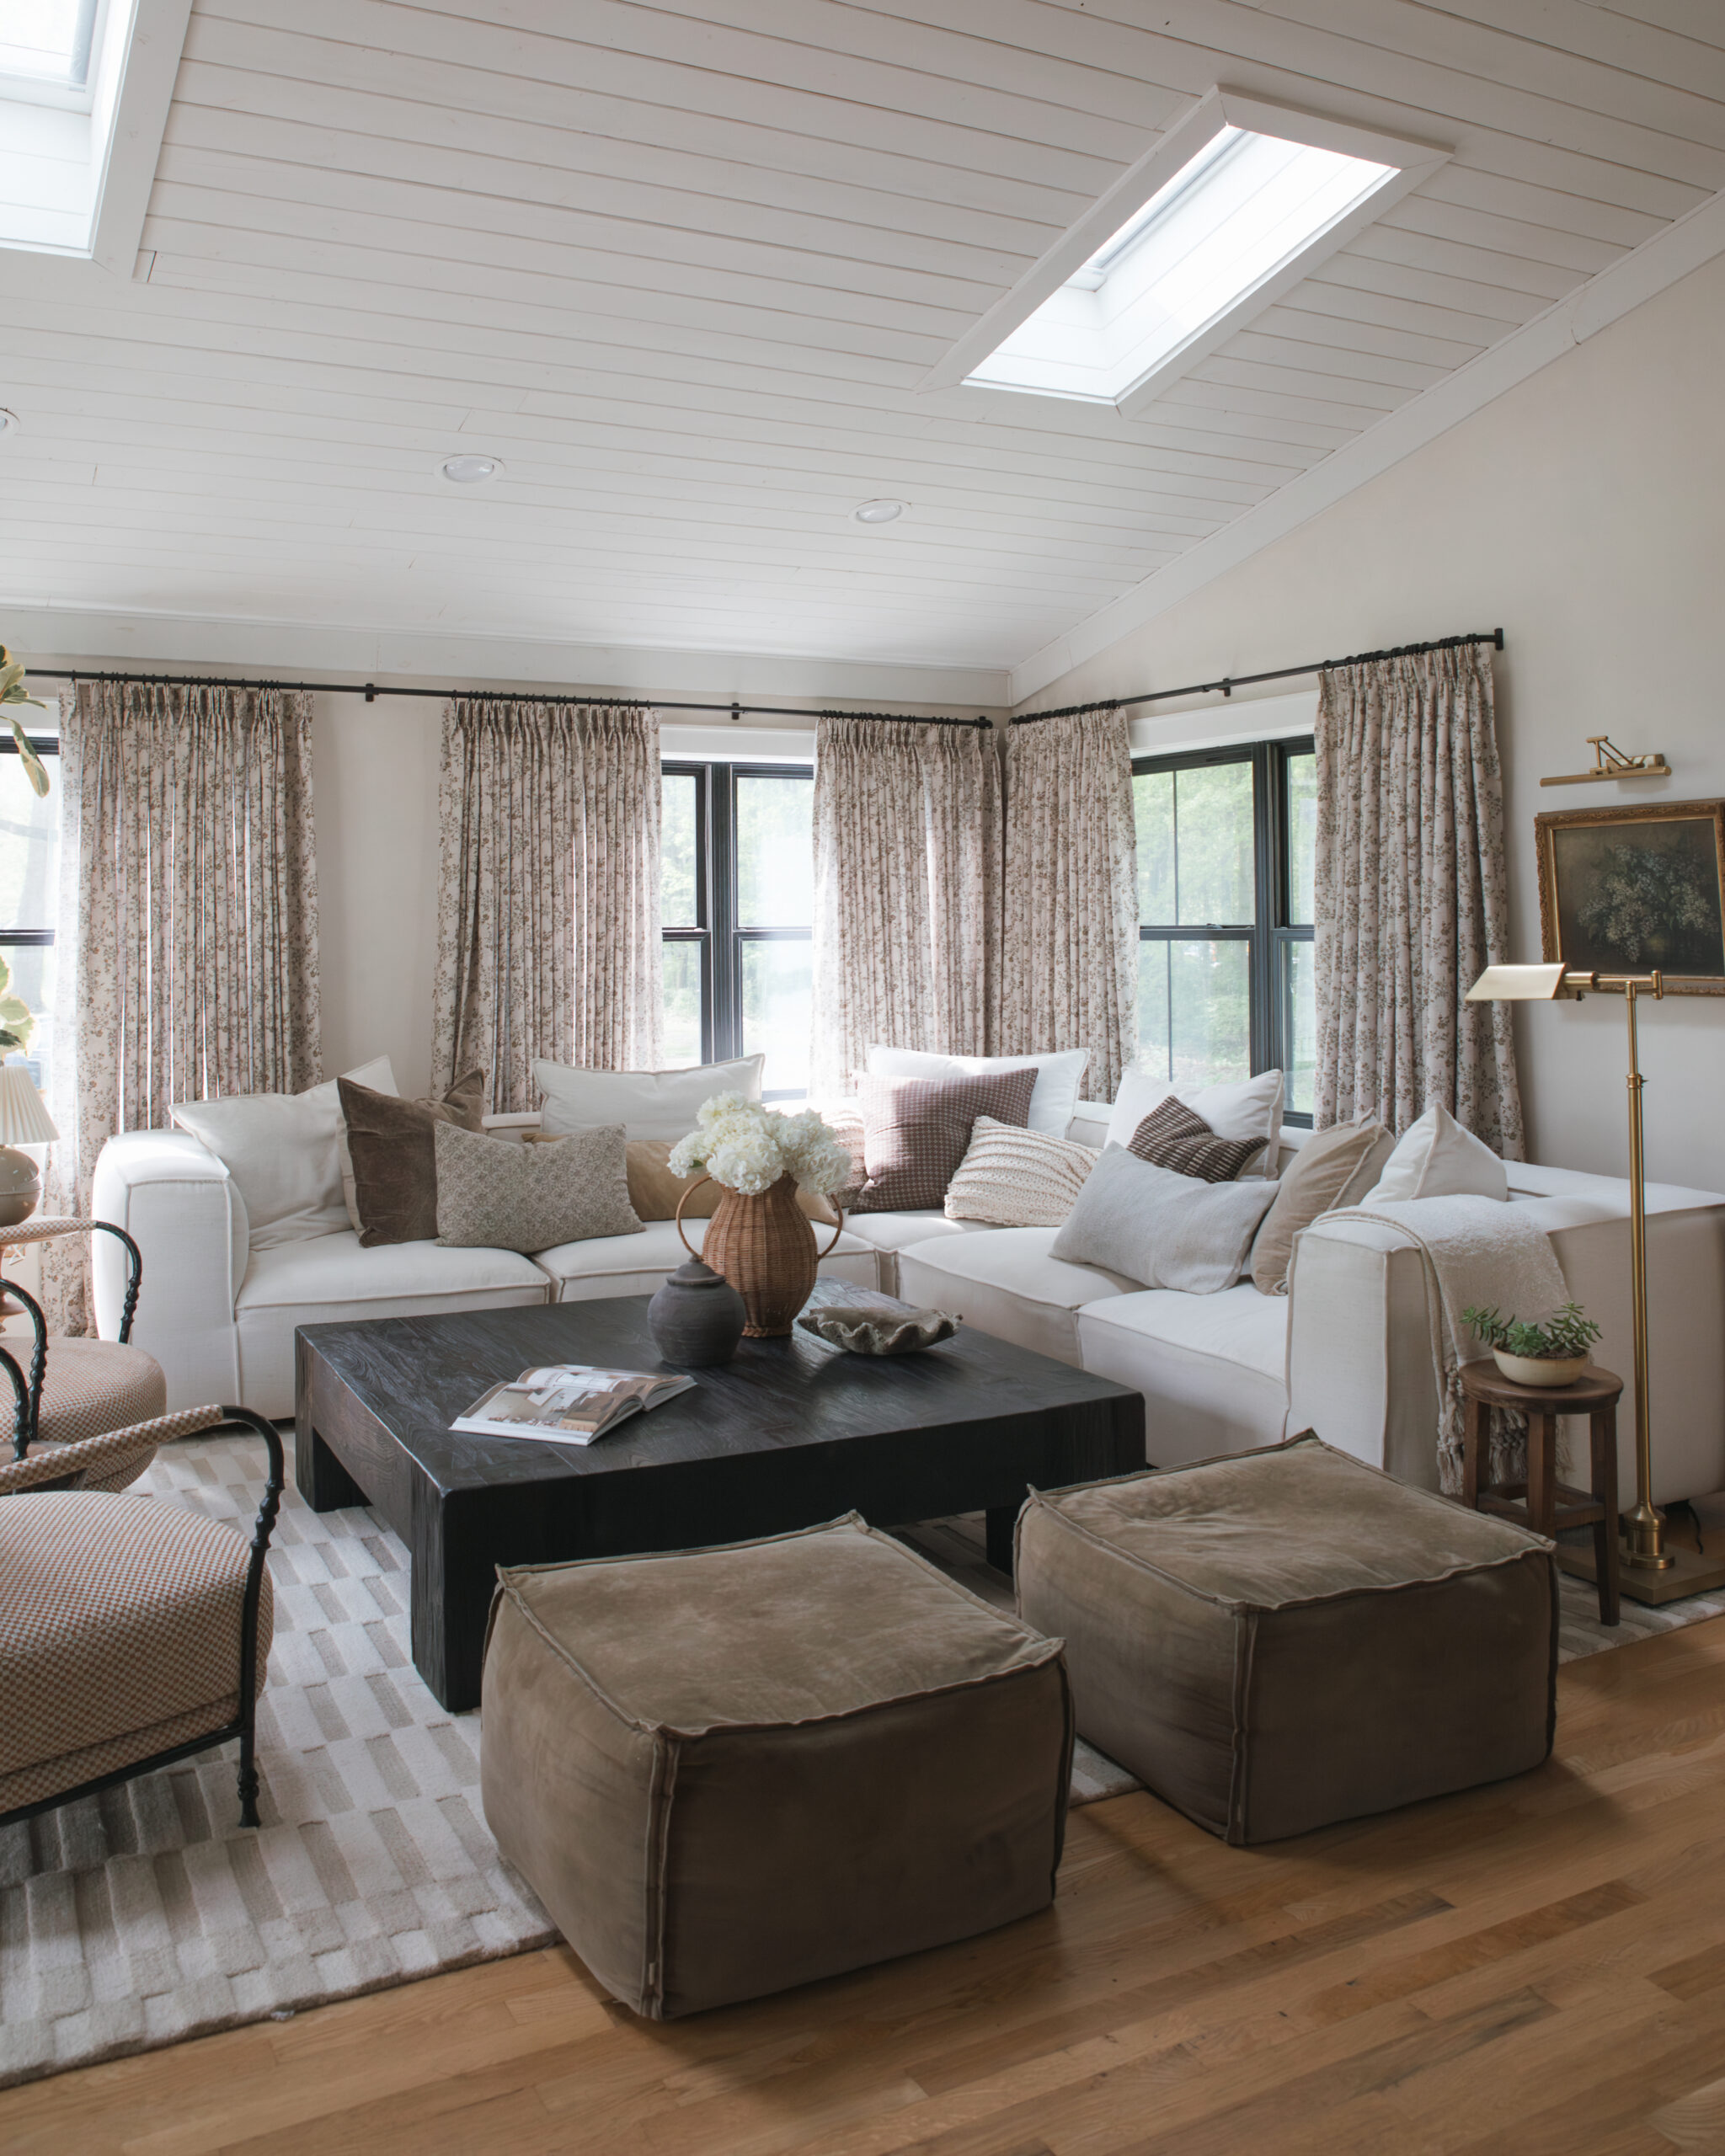
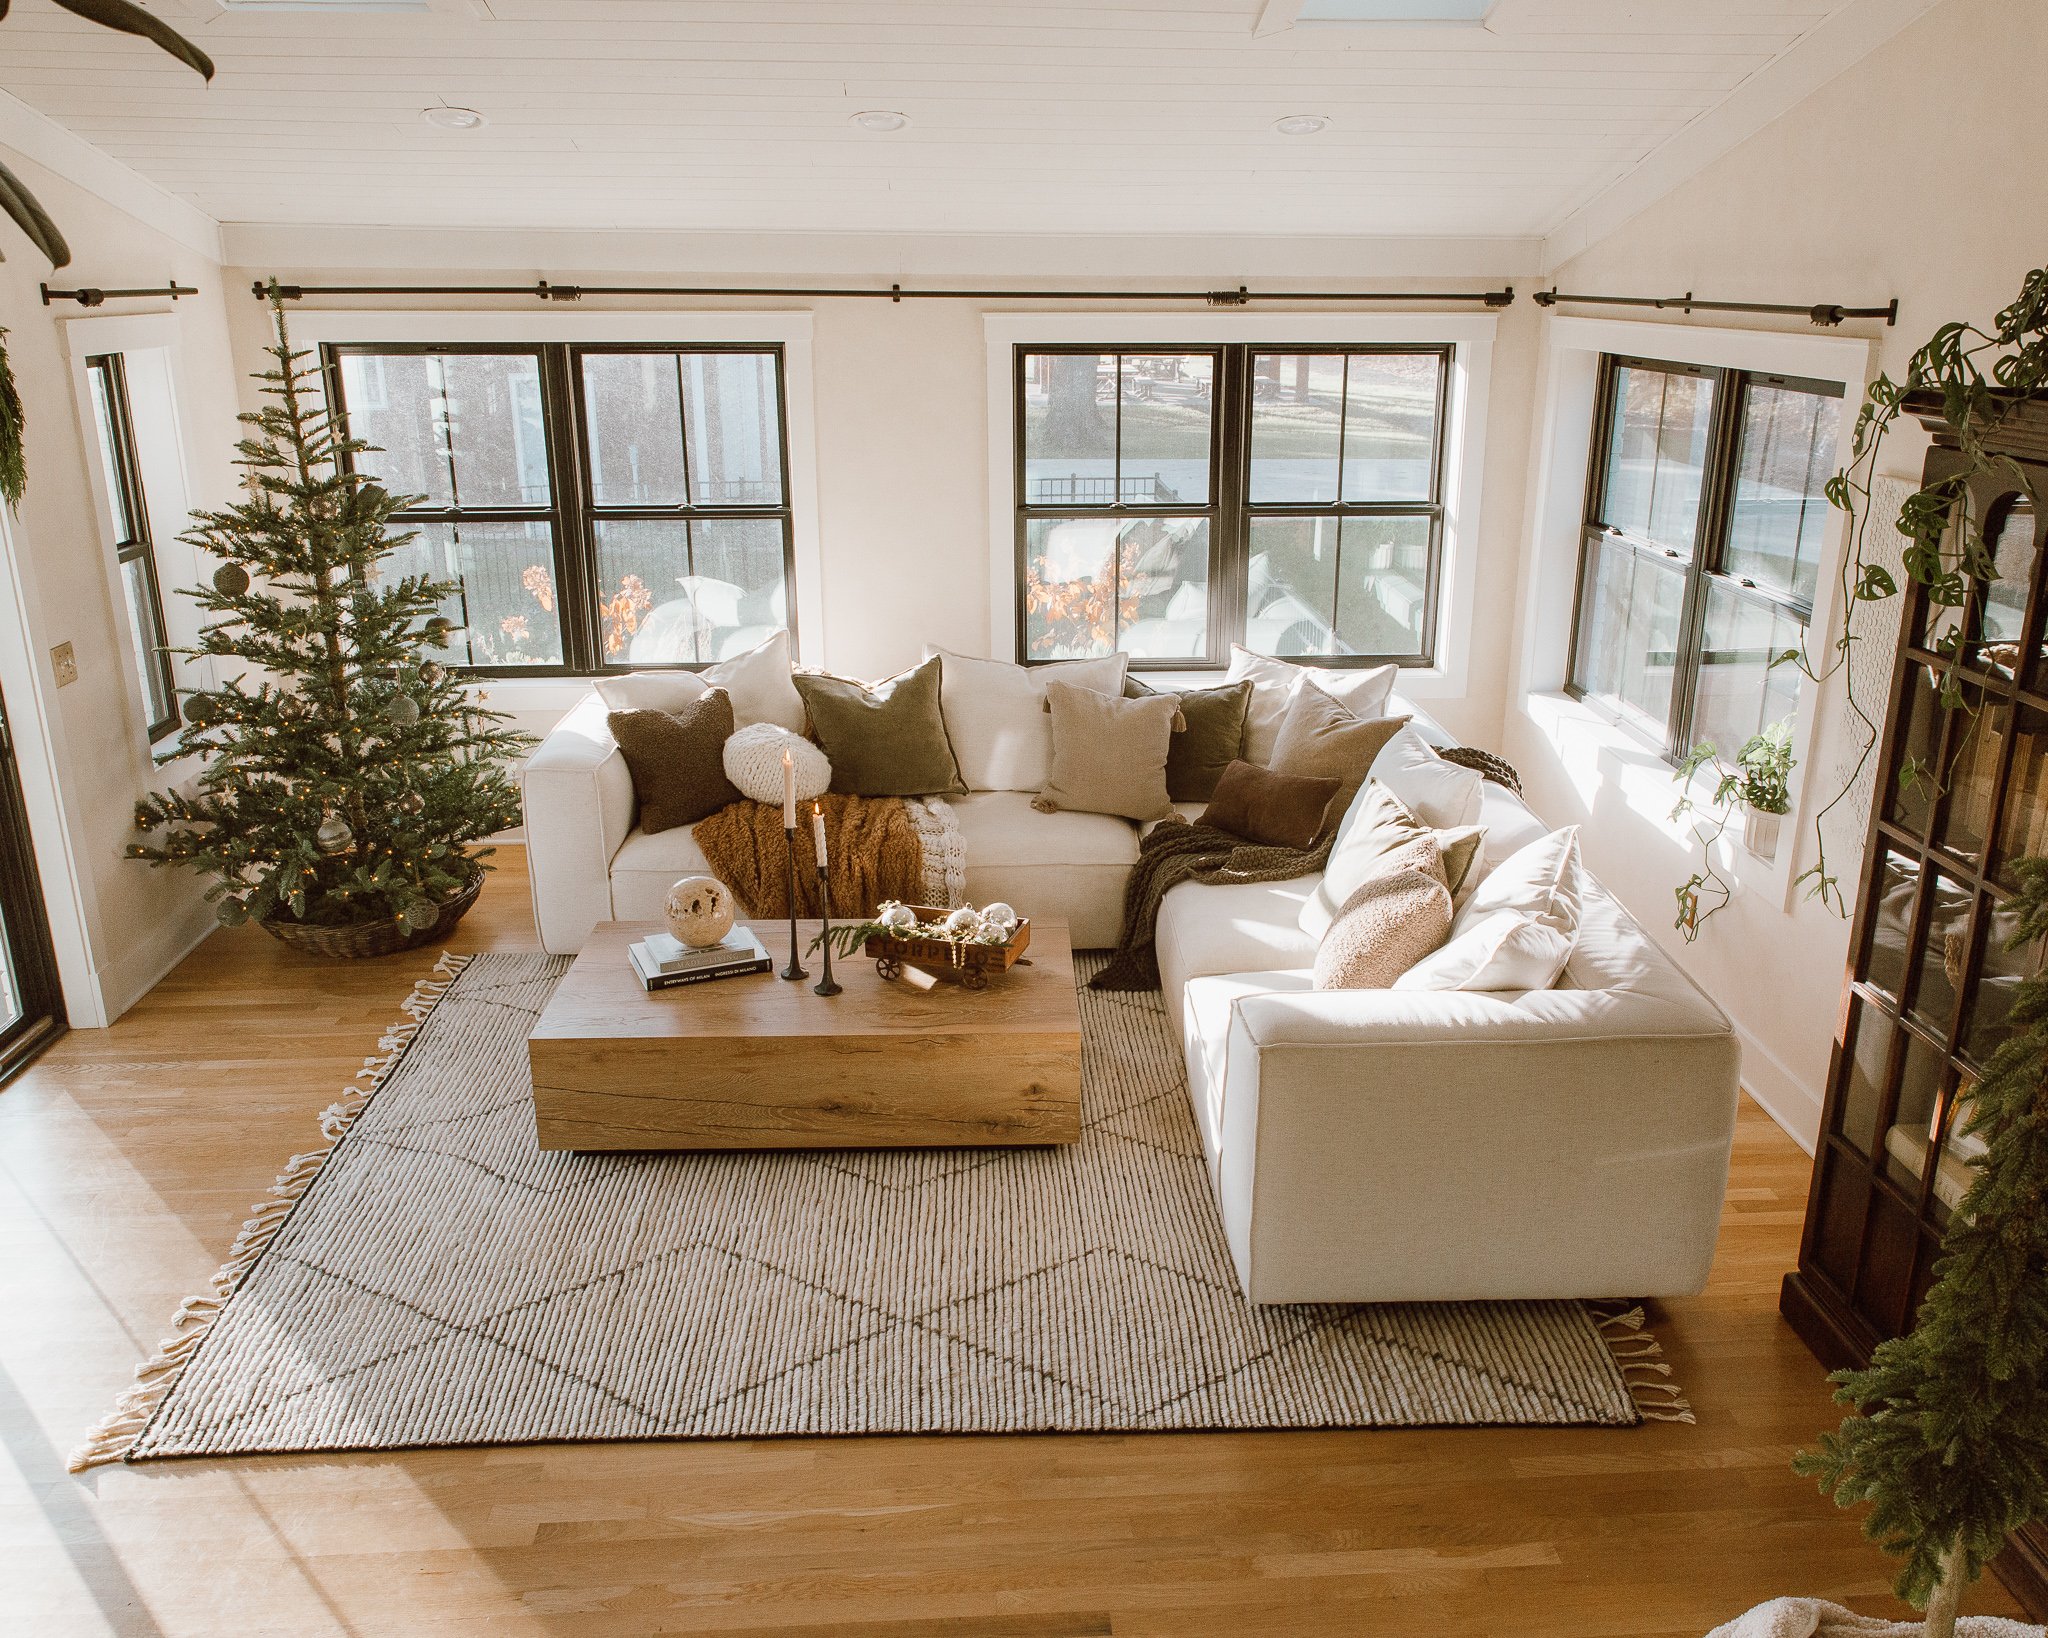
I knew I wanted to do something to the walls in our living room but I was having a hard time deciding exactly what to do. We already have beadboard on the walls in our kitchen (which leads into the living room) and the front of the house has shiplap, so I wanted to do something new and unexpected in this room. I was thinking about doing brick in this space but ultimately landed on roman clay. I think the look is timeless and I love the subtle visual texture it has!
Another thing I considered was I knew I didn’t want the walls to be a focal point in the living room, I wanted our sofa to remain the focal point. This is why I love the roman clay technique—it’s subtle, yet beautiful. It adds a nice texture to the walls without being overpowering. I love that it has a plaster-like look but has a smooth finish to the touch!
How to Apply
Supplies
-
20 kilo Portola Roman Clay in the color Patagonia (this is how much I used for my space, which was a little over 400 square ft. You’ll need to measure your space and email Portola for a quote. That’s how the generate the invoice for you to order!)
-
4” metal joint knife (I used metal, but you can also use plastic. Metal does leave minor scrape lines, which I didn’t mind.) The larger the knife, the larger the strokes. I preferred 4” because I had a lot more control while applying.
-
320 grit sandpaper
First Coat
-
Your first coat should be quite thin, the product does not need to be applied thick.
-
Put a little bit of the product on your 4” metal joint knife.
-
To apply to the wall spread the product using half c/squiggle motions to add movement.
-
Moving your knife in an S shape will give you a cloudy soft effect. You can see videos on my IG story highlights here)
-
It’s going to feel like you are doing it wrong but trust me haha and trust the process.
-
Start in one corner and move over as you go. Don’t start in the middle of the wall!
-
Try to complete one full wall at a time so the edges don’t get super dry and create a rough overlap.
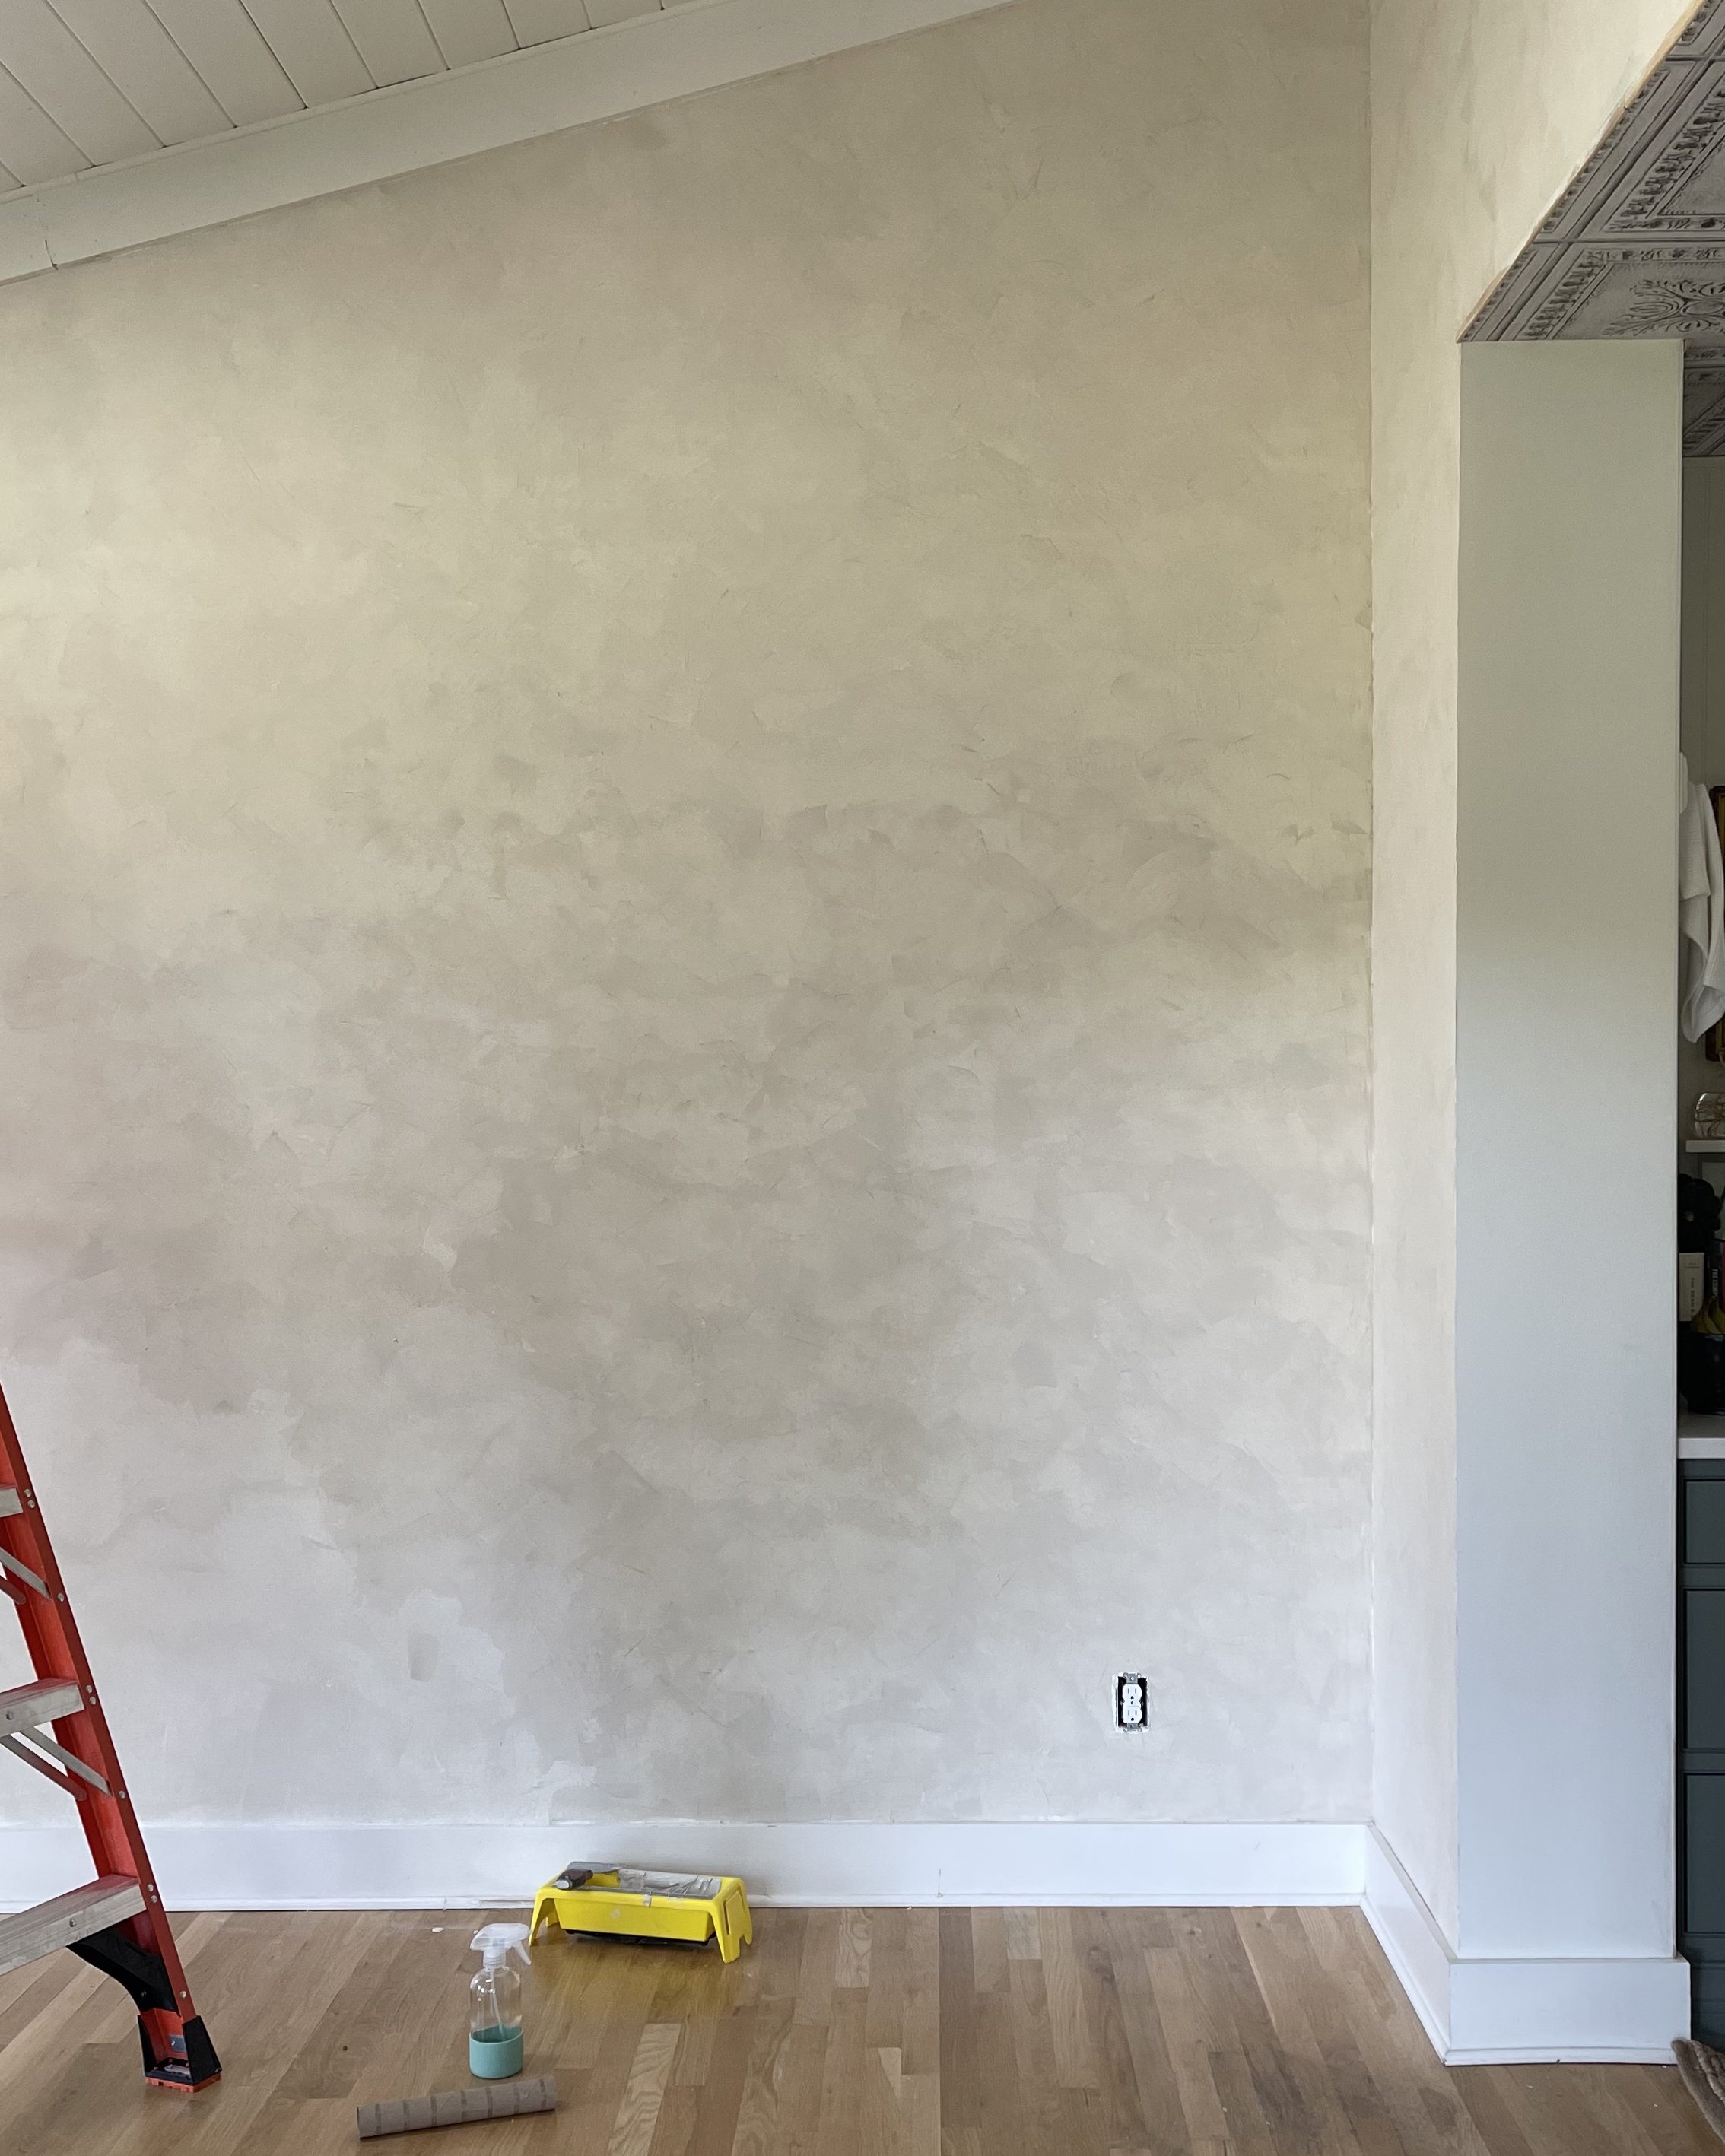
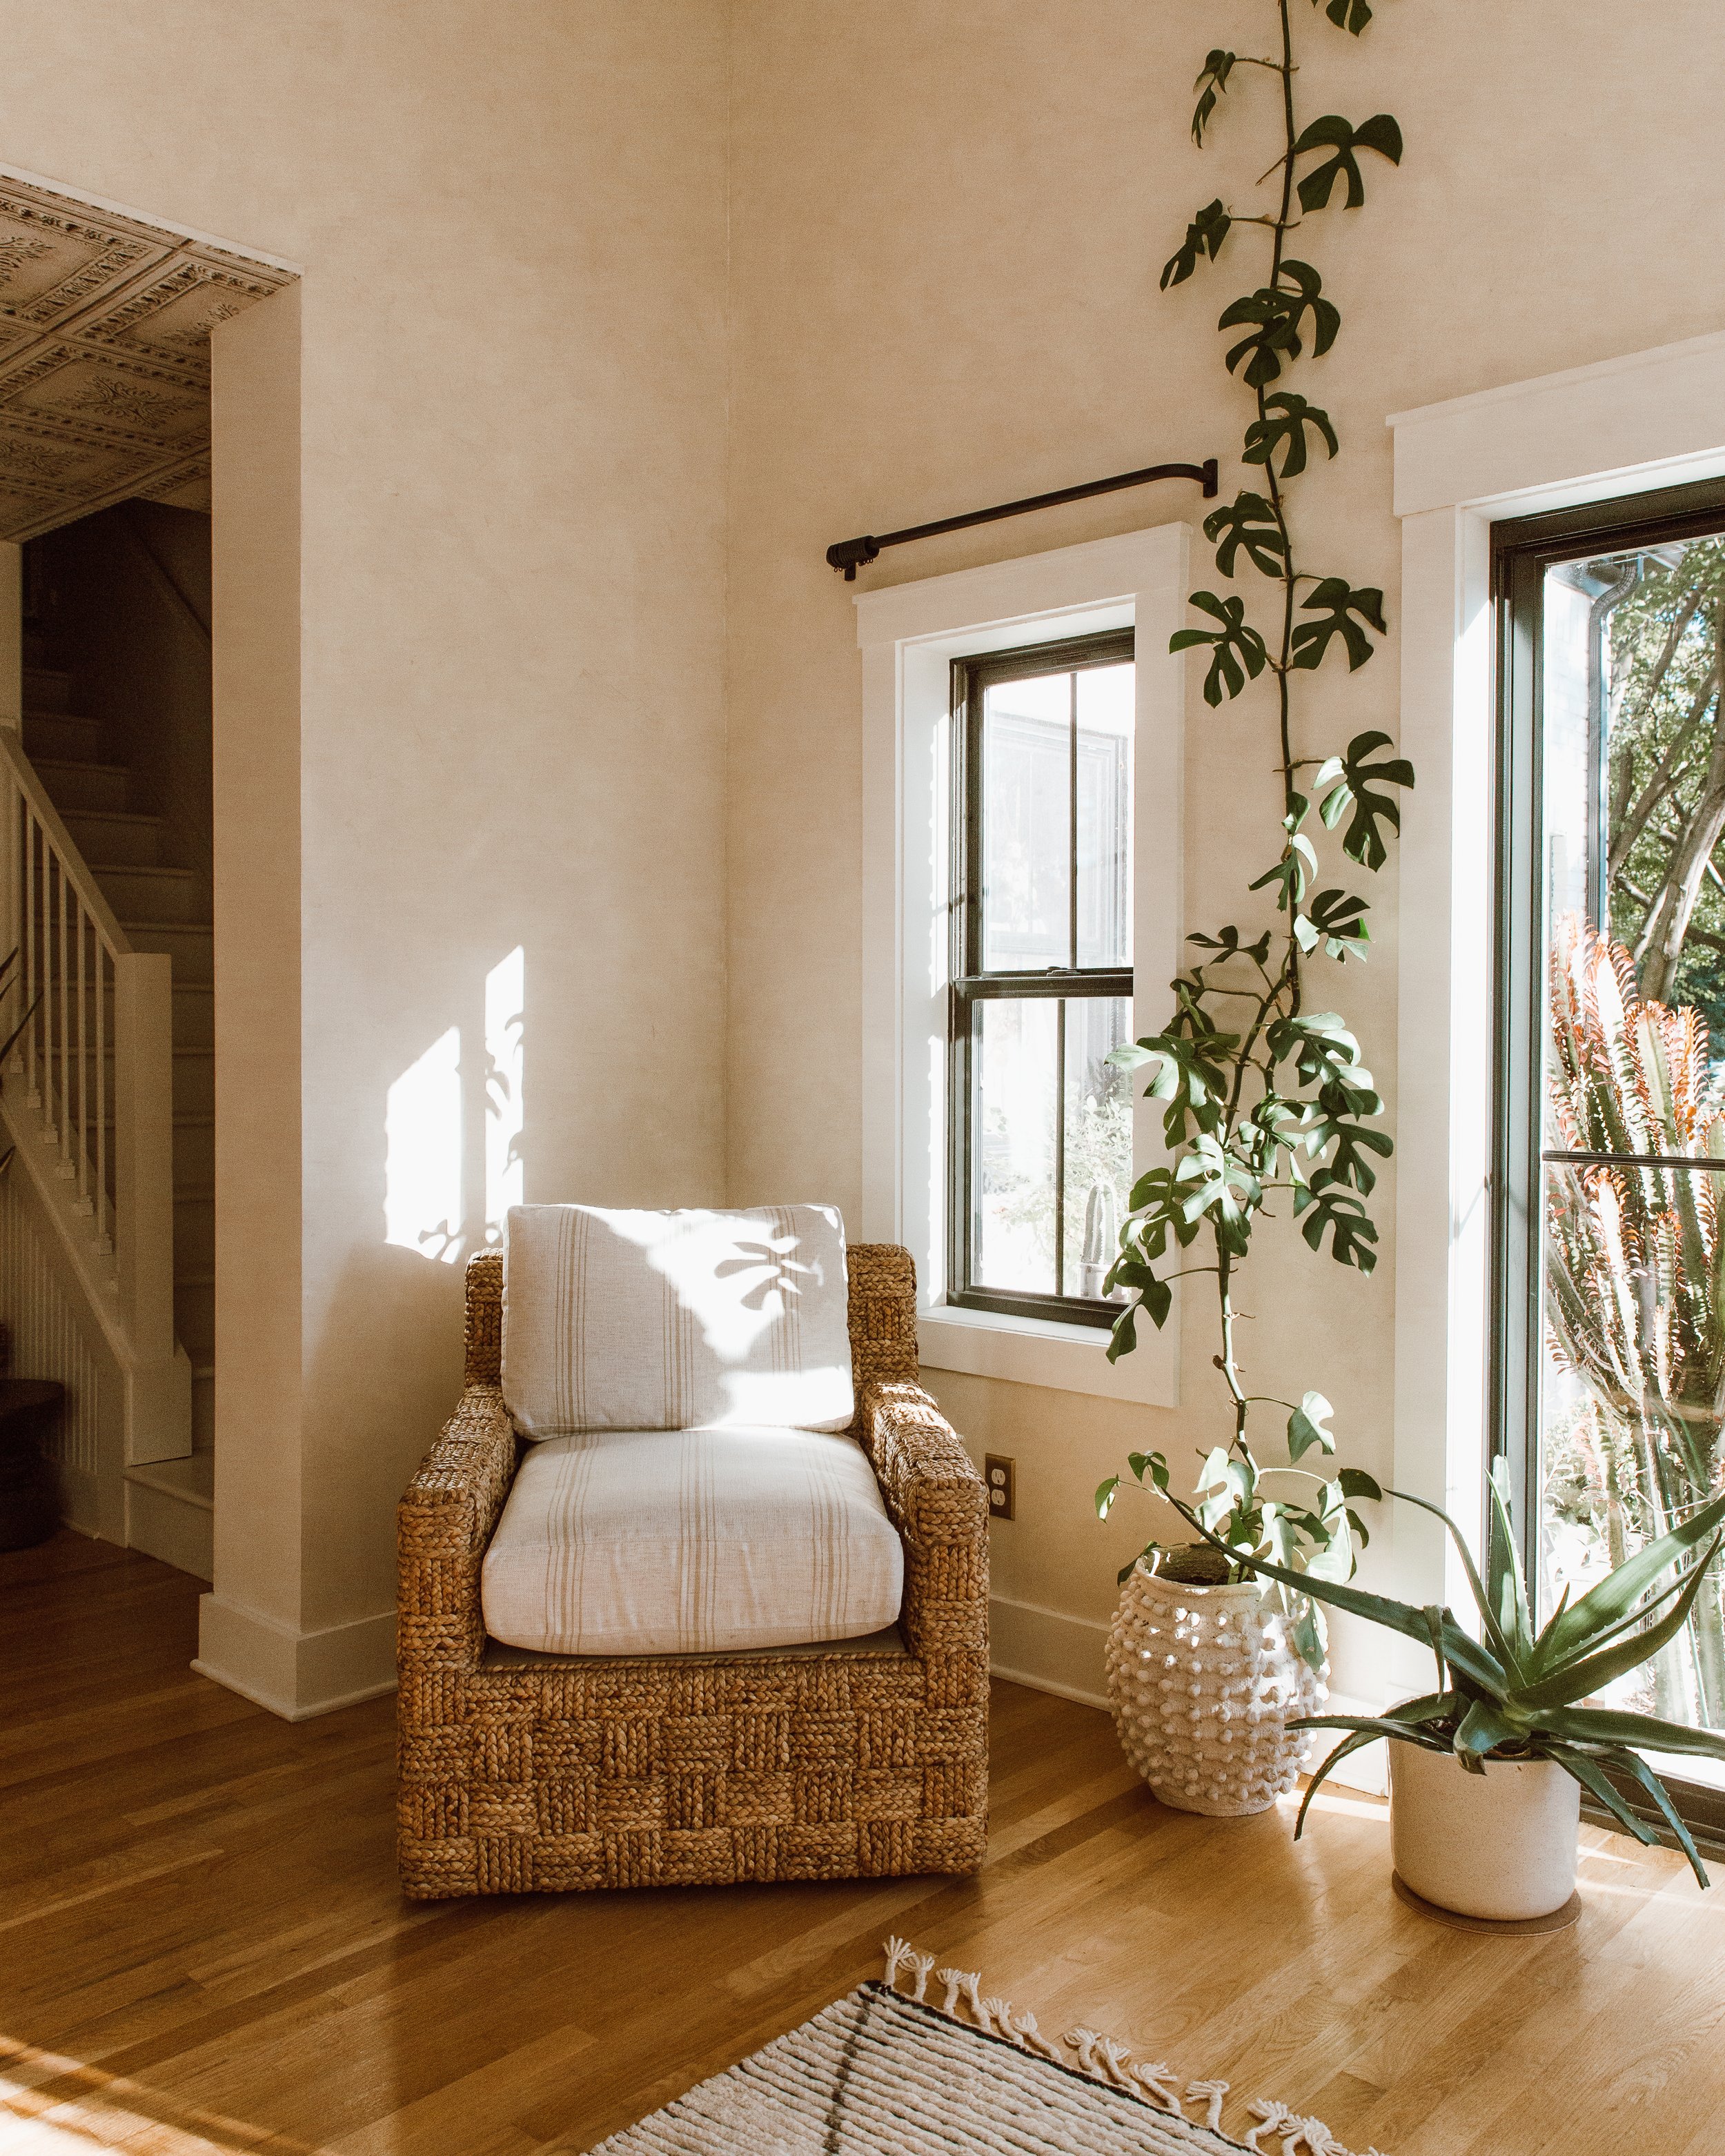
here’s what my first coat of roman clay looked like! It has a cloudy effect, super beautiful!
Between Coats
-
Let the product dry fully before applying your second coat, I let ours dry overnight, but I believe you can wait 3-4 hours between coats!
-
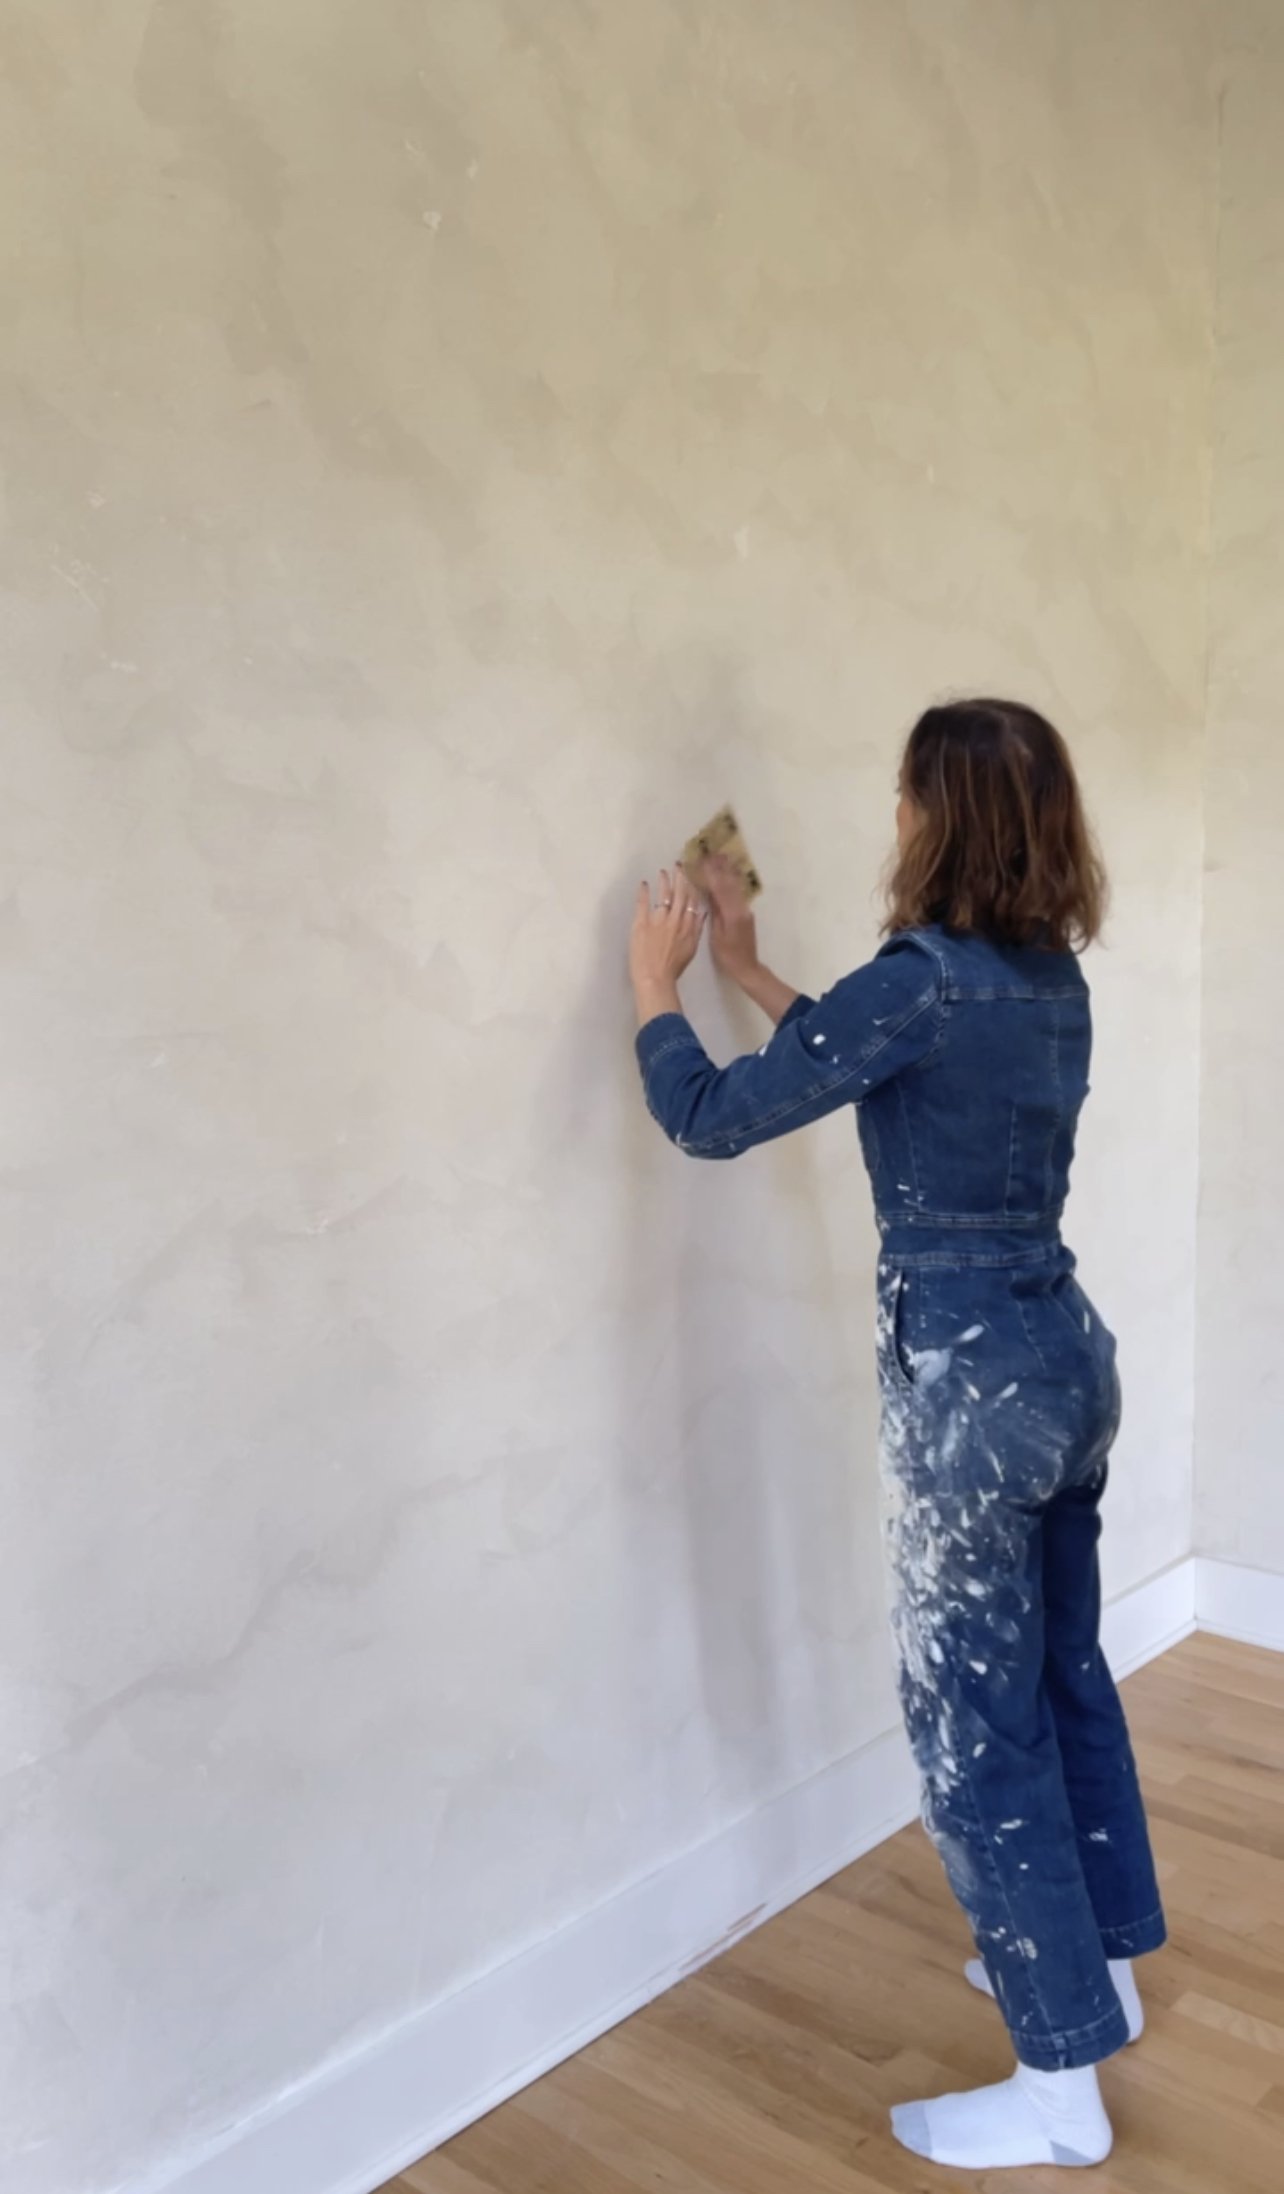
Before applying the second coat you want to gently sand any raised parts of the wall. I used 320 grit sandpaper.
-
Sanding will make your second coat go on super smooth.
-
If you don’t sand in between coats the finished wall will have a bumpy texture.
Second Coat
-
Apply using the same technique as your first coat with the half c/squiggle motions.
-
If possible, try to complete the entire wall at once. For our largest wall 18×12, it took me two hours, the rest of our walls took an hour each.
-
Allow the coat to dry fully. At least for a couple of hours, but I let ours dry overnight.
-
Sand any raised parts of the wall using 320 grit sandpaper.
-
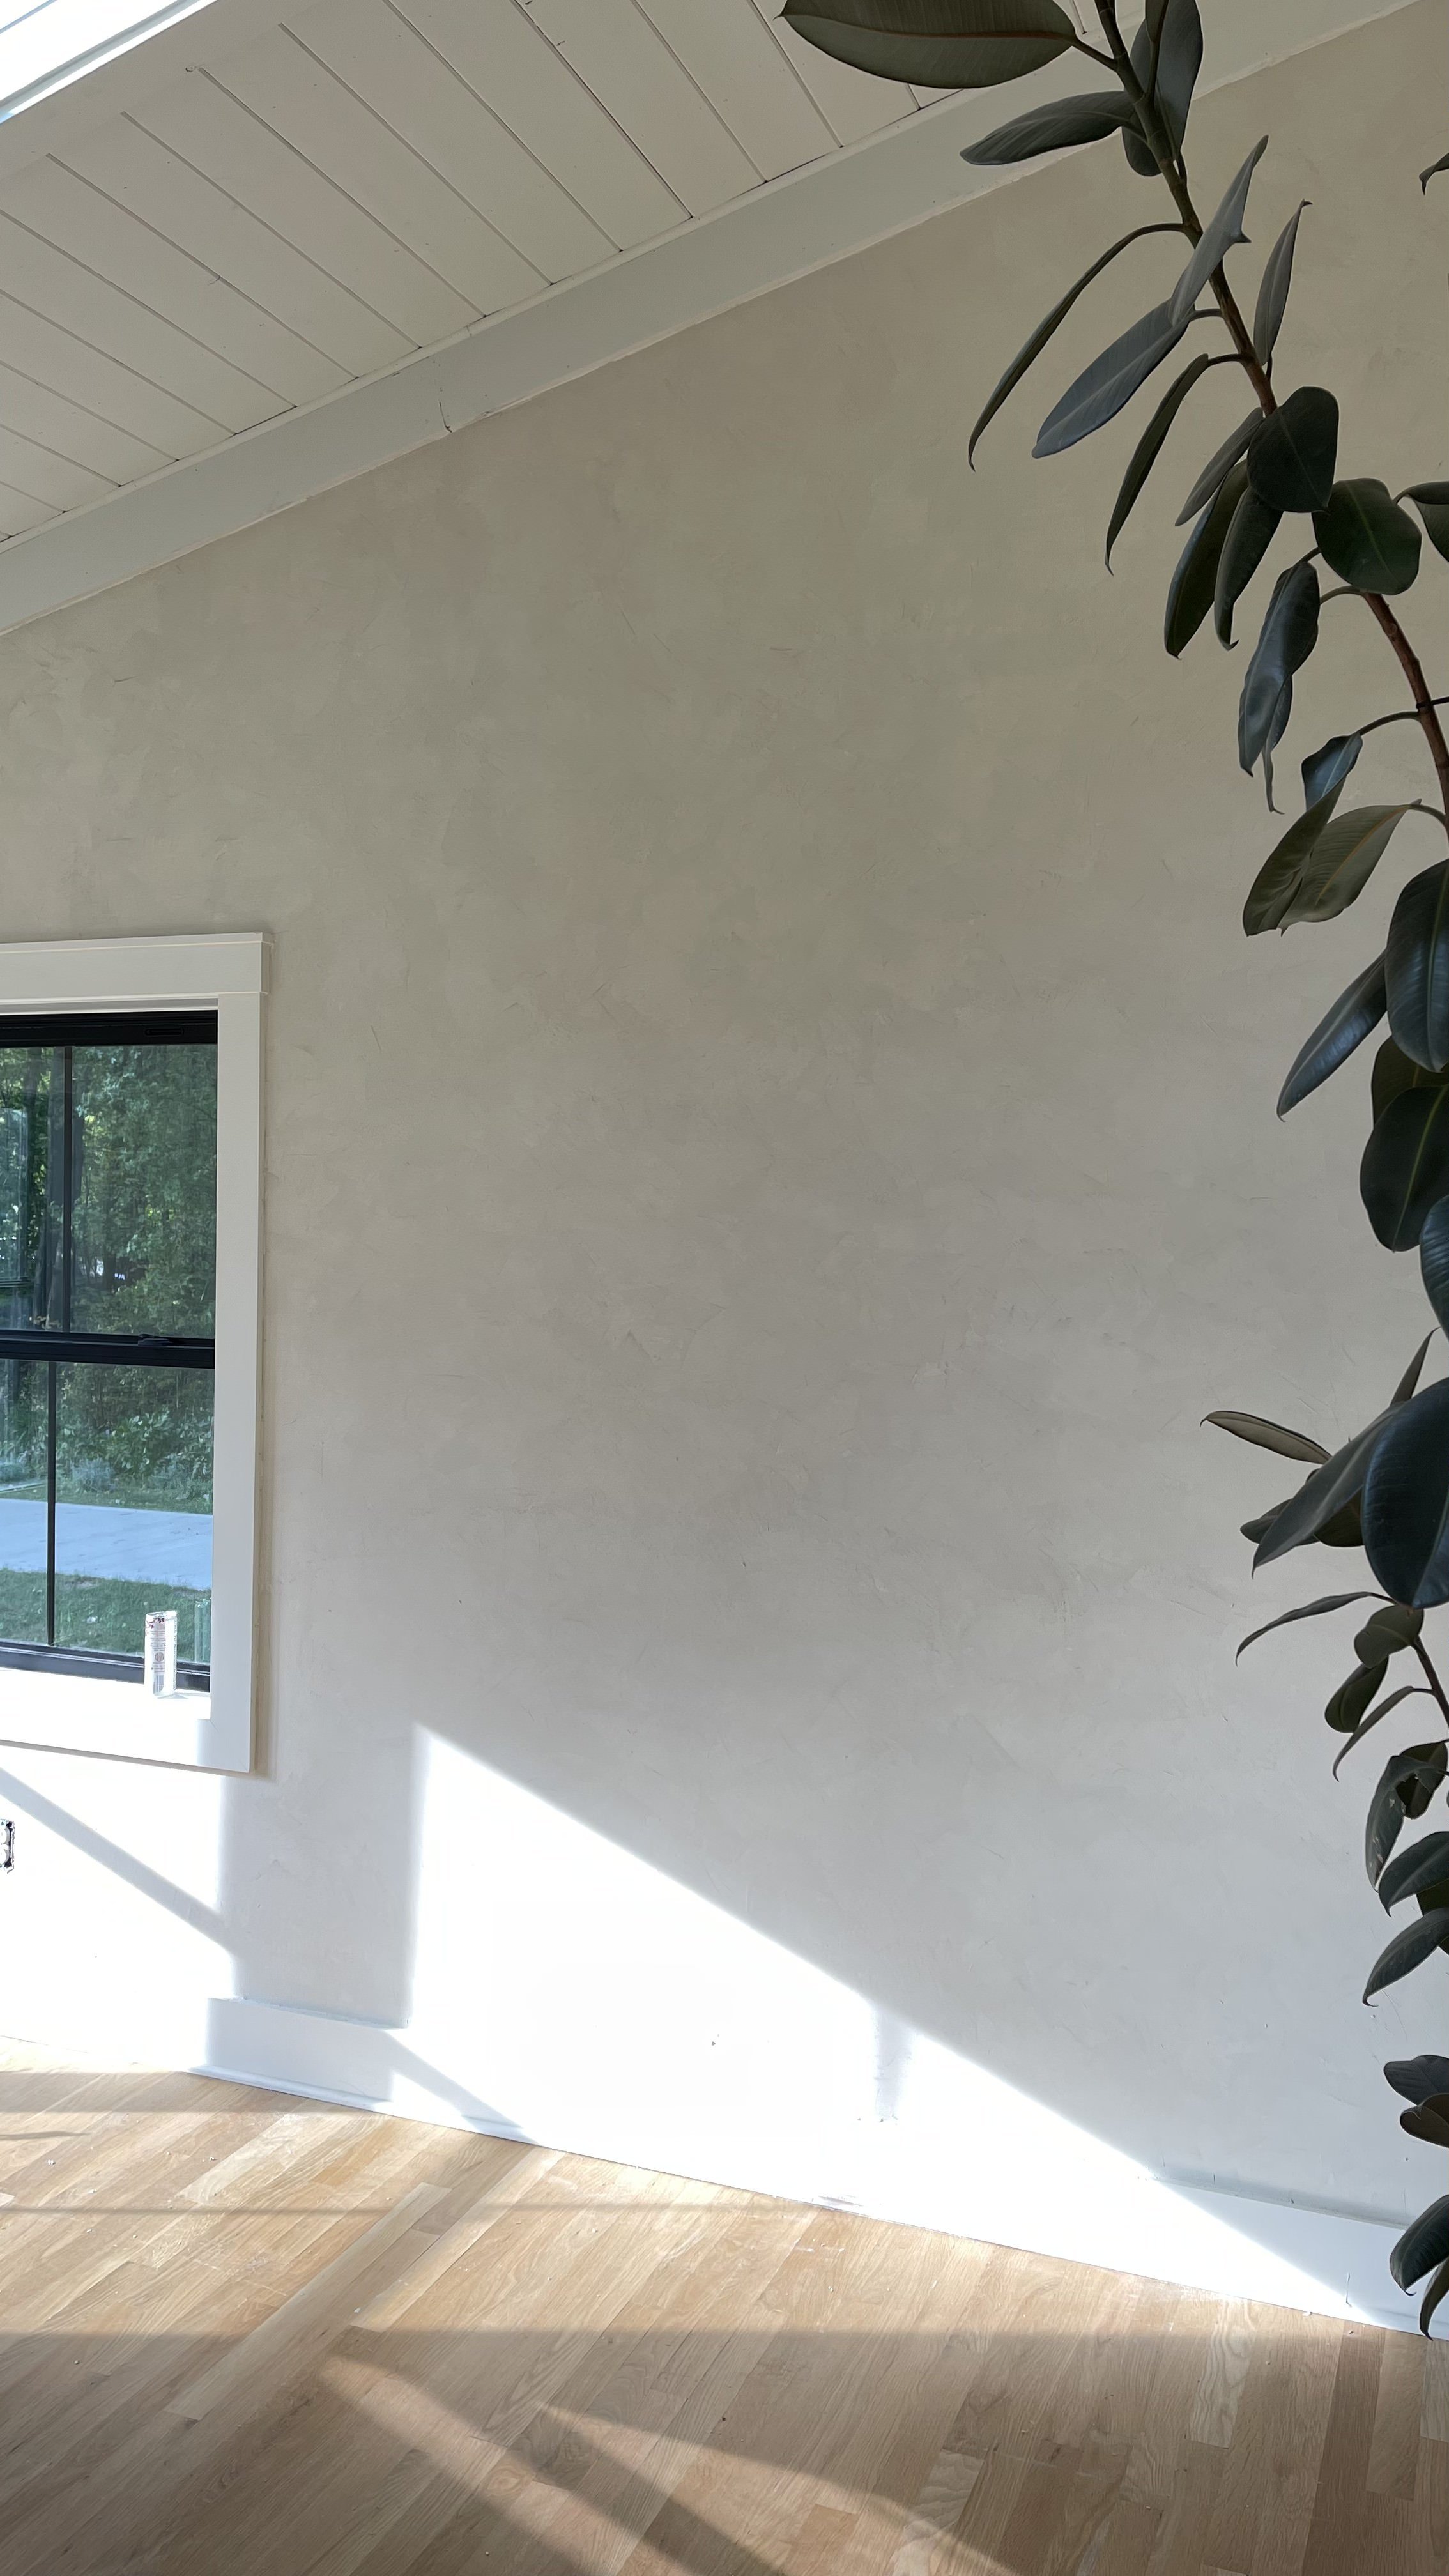
Lastly, you can apply a finish to the walls. I didn’t do this personally but it’s a protectant that Portola sells so you can definitely do that at the end if you’d like! The last coat helps with cleaning.



My Tips
If you want to see more of the process, check out my Instagram highlight called Roman Clay. I share videos & tips to help you get a visual of how to apply the clay.
I would recommend using a 4” joint knife to apply the roman clay, I tried using a 6” spatula but I preferred the look and control of the 4” spatula more!
Hold your spatula with two fingers on top, this will help you better control the amount of pressure you put on the wall.
The trick to achieving the cloudy, smooth roman clay is sanding and applying in an ‘s’ shape. You don’t want to skip these steps if that’s the look you hope to achieve!
This room is the last room you see when you walk into our house so I wanted to be thoughtful about the flow of the floor plan. To tie it into the rest of our home we added shiplap to the ceilings, which brought the wood treatment into the room without it being the focal point on the walls.
Cost Break Down
20 kilo = 5 gallon (400-500 sq ft) $285
To calculate the square footage of your room you’ll want to measure the length and width of your walls. The product is sold by weight and is measured in kilos, 1 kilo covers approximately 25 sq ft with 2 coats. It is sold in 1, 4, 10, and 20 kilos. Our living room was about 400 sq feet so I went with 20 kilos, which they said should cover approximately 500 sq ft. I’d say it was pretty accurate, I had enough to finish our entire living room plus a little bit leftover I can use for another project in the future!

FAQ
Do you plan to keep the Roman Clay on your walls forever?
Anytime I am making a permanent design choice (like our walls) I want it to be something I know I love and don’t plan on changing. It takes a lot of work to do big installations like flooring, walls, ceilings, etc. So I would never want to put all of the work into something I wouldn’t want to keep for a long time. Now, that doesn’t mean it happens 100% of the time as there are quite a few things I’ve changed up, but that’s the goal whenever I start a project! As of now, yes I plan to keep the Roman Clay! If I do change my mind in the future, it can be removed so that would be a project to tackle then!
Can you take off Roman Clay after you’ve applied it?
Yes, you can remove it. It would be a tedious process but it can be done. Essentially you would need to sand down the layers to get it back to the original wall. When I was testing out samples, I sanded those off before applying the final product. It takes time but it is possible!
Is it difficult to apply?
It looks so intimidating but if you follow the instructions it will look beautiful!. It is so easy to apply, anyone can do it!

How did we pick the color?
We looked online and picked a few colors we thought we would like, we ordered three samples to try. We tested all three on the wall in our living room and picked out our favorite from there! We chose the color Patagonia. I’d highly recommend testing it out in your home to see which color you like best. After testing the samples, be sure to sand them off to start with a smooth surface.
How long did it take?
It took me 3 days total to apply the roman clay to our living room! It was a pretty large room, so smaller spaces may take less time but I was able to dedicate a lot of time to work on this each day. It may take longer if you don’t have a lot of time each day to apply the roman clay. Each wall took about an hour per coat, our largest wall took about 2 hours per coat.
Can roman clay be applied to walls with texture?
No, you’ll want to apply this to smooth walls since you are using a spatula to apply the roman clay. If your walls have texture and you want to achieve a similar look, lime washing the walls would be a great alternative.
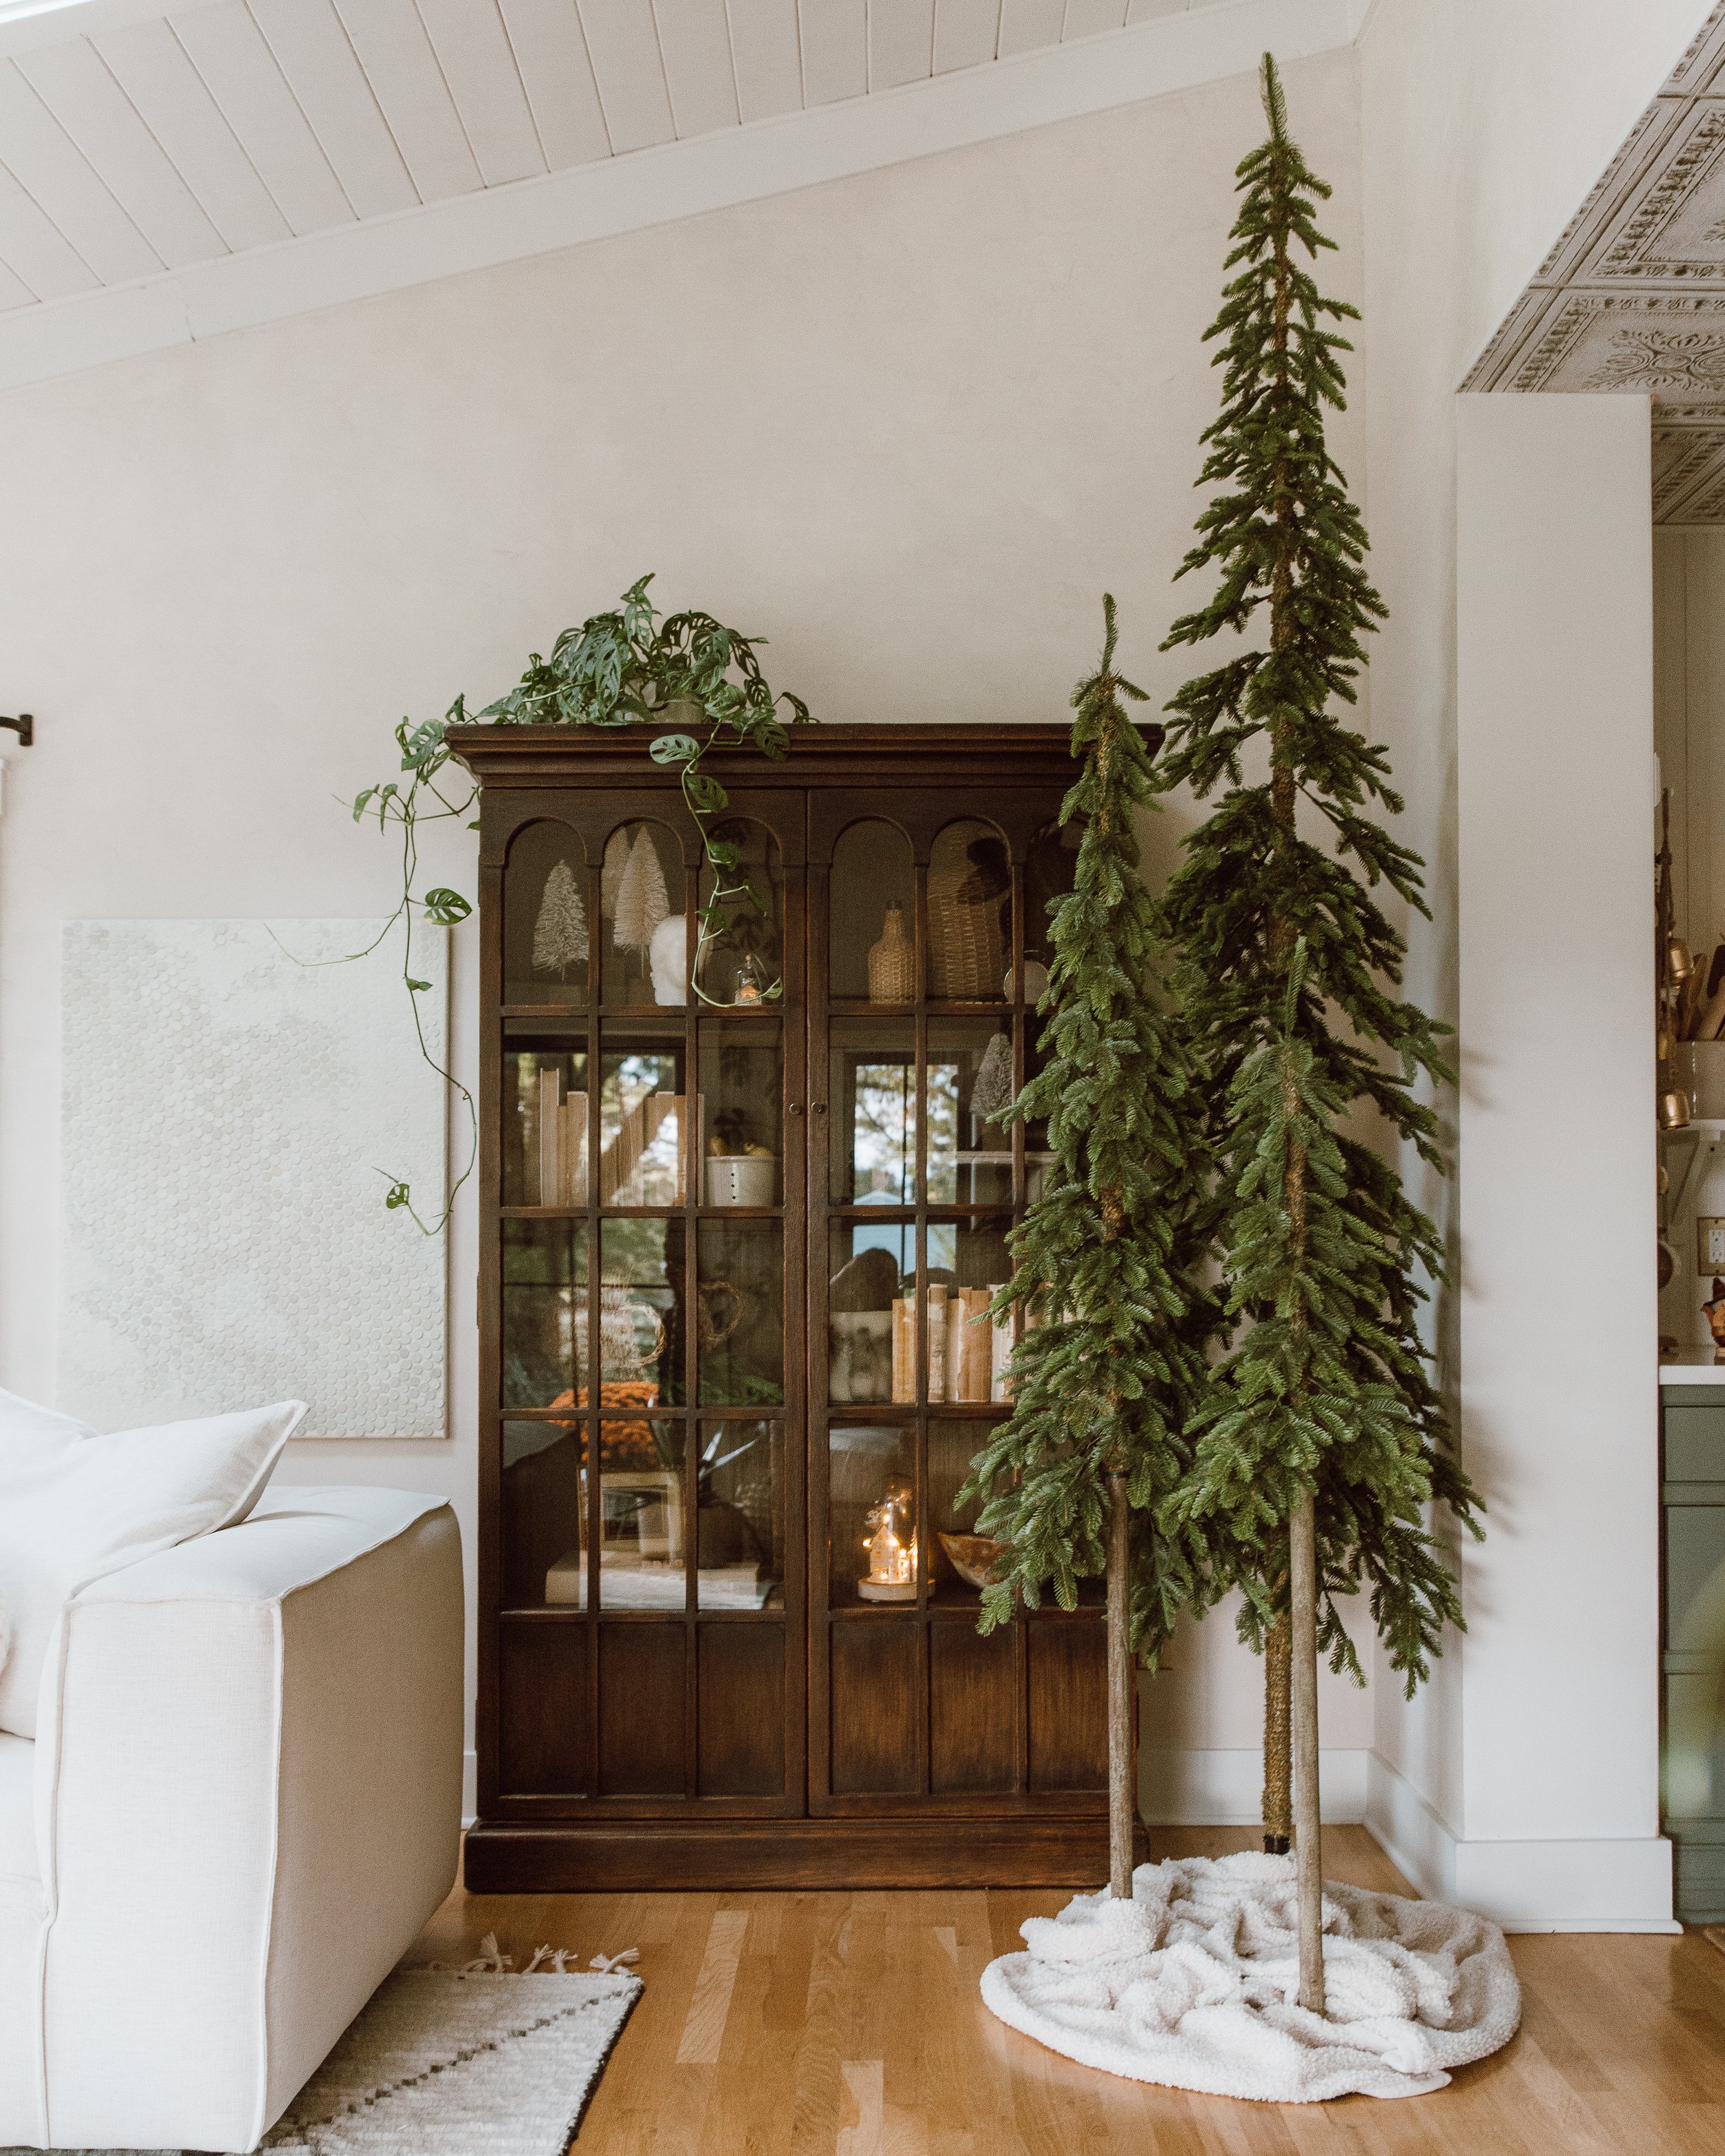
I hope this post helps answer your questions about Roman Clay! It may look a little intimidating but it is so easy & creates such a beautiful final product. In real life it looks so pretty and cloudy, everyone who comes into our home immediately wants to touch the walls! I love the way this turned out and plan on doing another Roman Clay project in the future.


