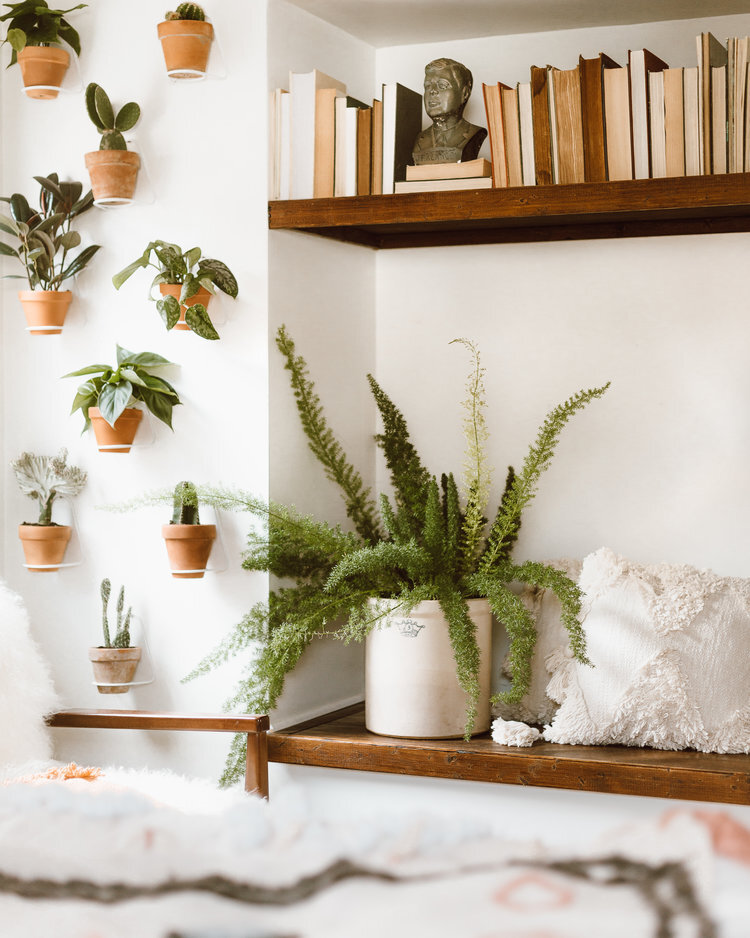
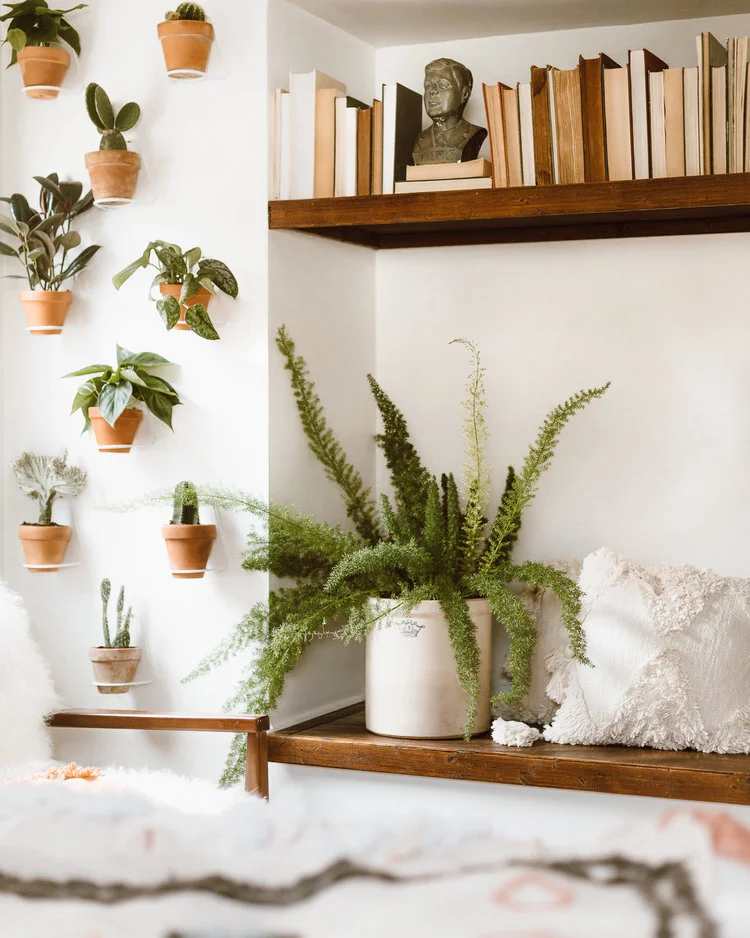
how to create a living wall
I have to admit.. I created this living wall not thinking that anyone would love it enough for me to do a tutorial on it.. I pulled a partial all nighter on it and measured/leveled everything perfectly. But I didn’t really prepare myself to do a how-to so I’m going to do my best to explain everything thoroughly!

Before you start putting holes in your walls take time to measure. I would say 95% of the time I spent on this project was planning and measuring. Hanging the holders literally take a second because you did all of the measuring up front!
WHAT YOU’LL NEED
3” pots
a level or your iPhone level app
meter stick (or any type of straight edge)
contractors pencil
nails
a hammer
plants, obvi!

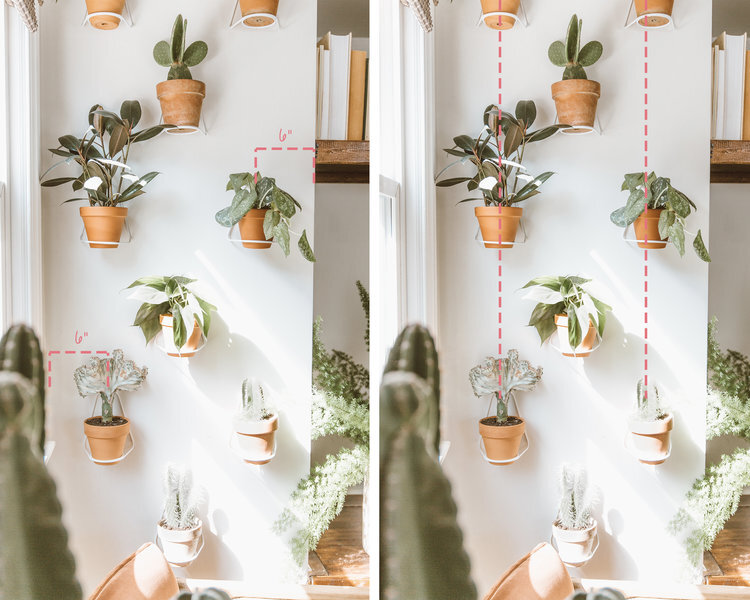
The first thing I did was measure the distance I liked between the wall and the outer edge row of plant holders. I was constantly holding one of the plant holders up and stepping back a bit to try to visualize what it would look like if it were hanging. For me I was happy placing the planters 6” in from each side of the wall. Once you figure out your distance, mark it with a contractors pencil (they erase easily). Then using a meter stick, or any long edge, place your level along it to make sure you are creating a straight line. Make little soft dashes along the straight edge all the way down the wall. This sounds messy but mine erased just fine after I was done :).
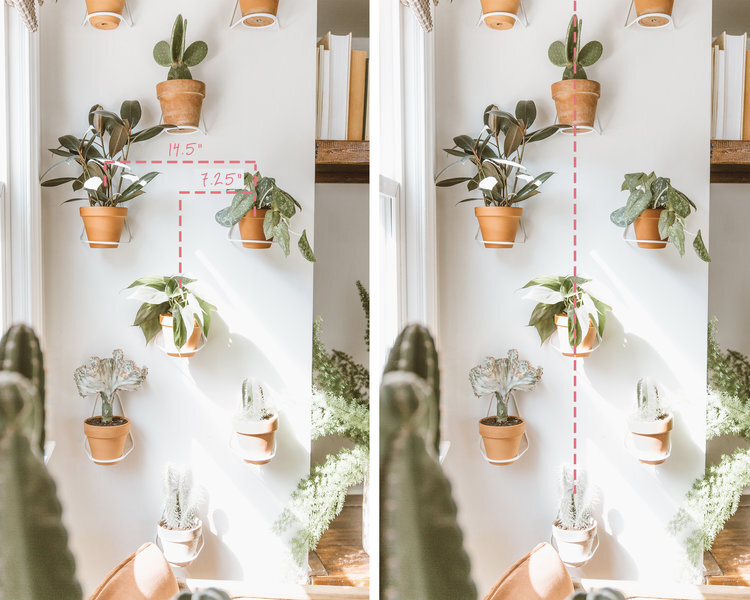
Next, measure the distance between your two rows, this is for your middle row of planters! For me the distance was 14.5” with the mid-point being 7.25”. I marked the wall, then held two plant holders up to make sure I liked the placement for at least two of the three measurements. Then I used my meter stick and did the same thing with the level to make sure it was a straight line. You want to make sure you’re checking your work throughout so as you go just take a tape measure and make sure all the measurements are the same all the way down the wall.
Then, figure out your focus point, AKA where you want to start! I wanted my planters to be a little bit lower than our cut out cubby so I just marked a spot where I liked and worked down from there. The best thing to do for spacing out your planters vertically is to measure the distance from the bottom of the top row to the top of the next row. For me this was 4.5”!

Once you figure out these points of measure, you’re pretty much all set! All you have to do is continue down your wall marking the distances for the three rows. Mark your distances with a ‘+’ so you know exactly where to put your nail. Once you mark everything, hammer in your nails and you’re all set!