

diy dog bed (also see IGTV tutorial)

Yay!! I’m so glad you’re here!! Welcome to the first part of the dog bed/pouf tutorial.
To start, here’s a list of materials for the project!
Scissors - I use fabric scissors and regular paper scissors
2x Upholstery thread - here’s what I used
Upholstery needles - if you plan to hand sew, this set has the thread already!
Regular sewing needle (for button hole)
An embroidery needle - if you plan to embroider
Ruler(s) - I like to use a gridded ruler and L square
Pencil or pen
Scotch tape
3/4” or 1” buttons of your choice! - I would say 2 for s/m bed and 3 for l/xl :)
Fabric of your choice!
For fabric, you can find some at Joann’s or even online fabric stores like Mood Fabrics or B&J fabrics. You can order swatches from either before ordering! If you’re hoping for something more durable or stain-resistant, you can definitely narrow your search on the websites and I’d even suggest even choosing outdoor fabrics! You want to make sure your fabric has a little stability but at the end of the day, it is totally your personal preference! For mine, I cared more about the texture and the price. I found a nice heavyweight fabric on clearance, it was a print so I just used the wrong side of the fabric. For one pouf I used about 2 1/2 yards. This is dependent on the width of your fabric so keep that in mind when fabric shopping!:)
PART 1 - MAKING THE PATTERN
The reason this part of the process is important is because the pattern is what ensures everything lines up when you begin sewing! You can certainly just follow the measurements if you feel you don’t need a pattern, but you’ll more than likely run into errors along the way once you start sewing!
There are two different size options, s/m, and l/xl. These are sized by our dogs. I would say the s/m will fit up to 35-40lbs animal and below. The l/xl should fit anything over that weight!
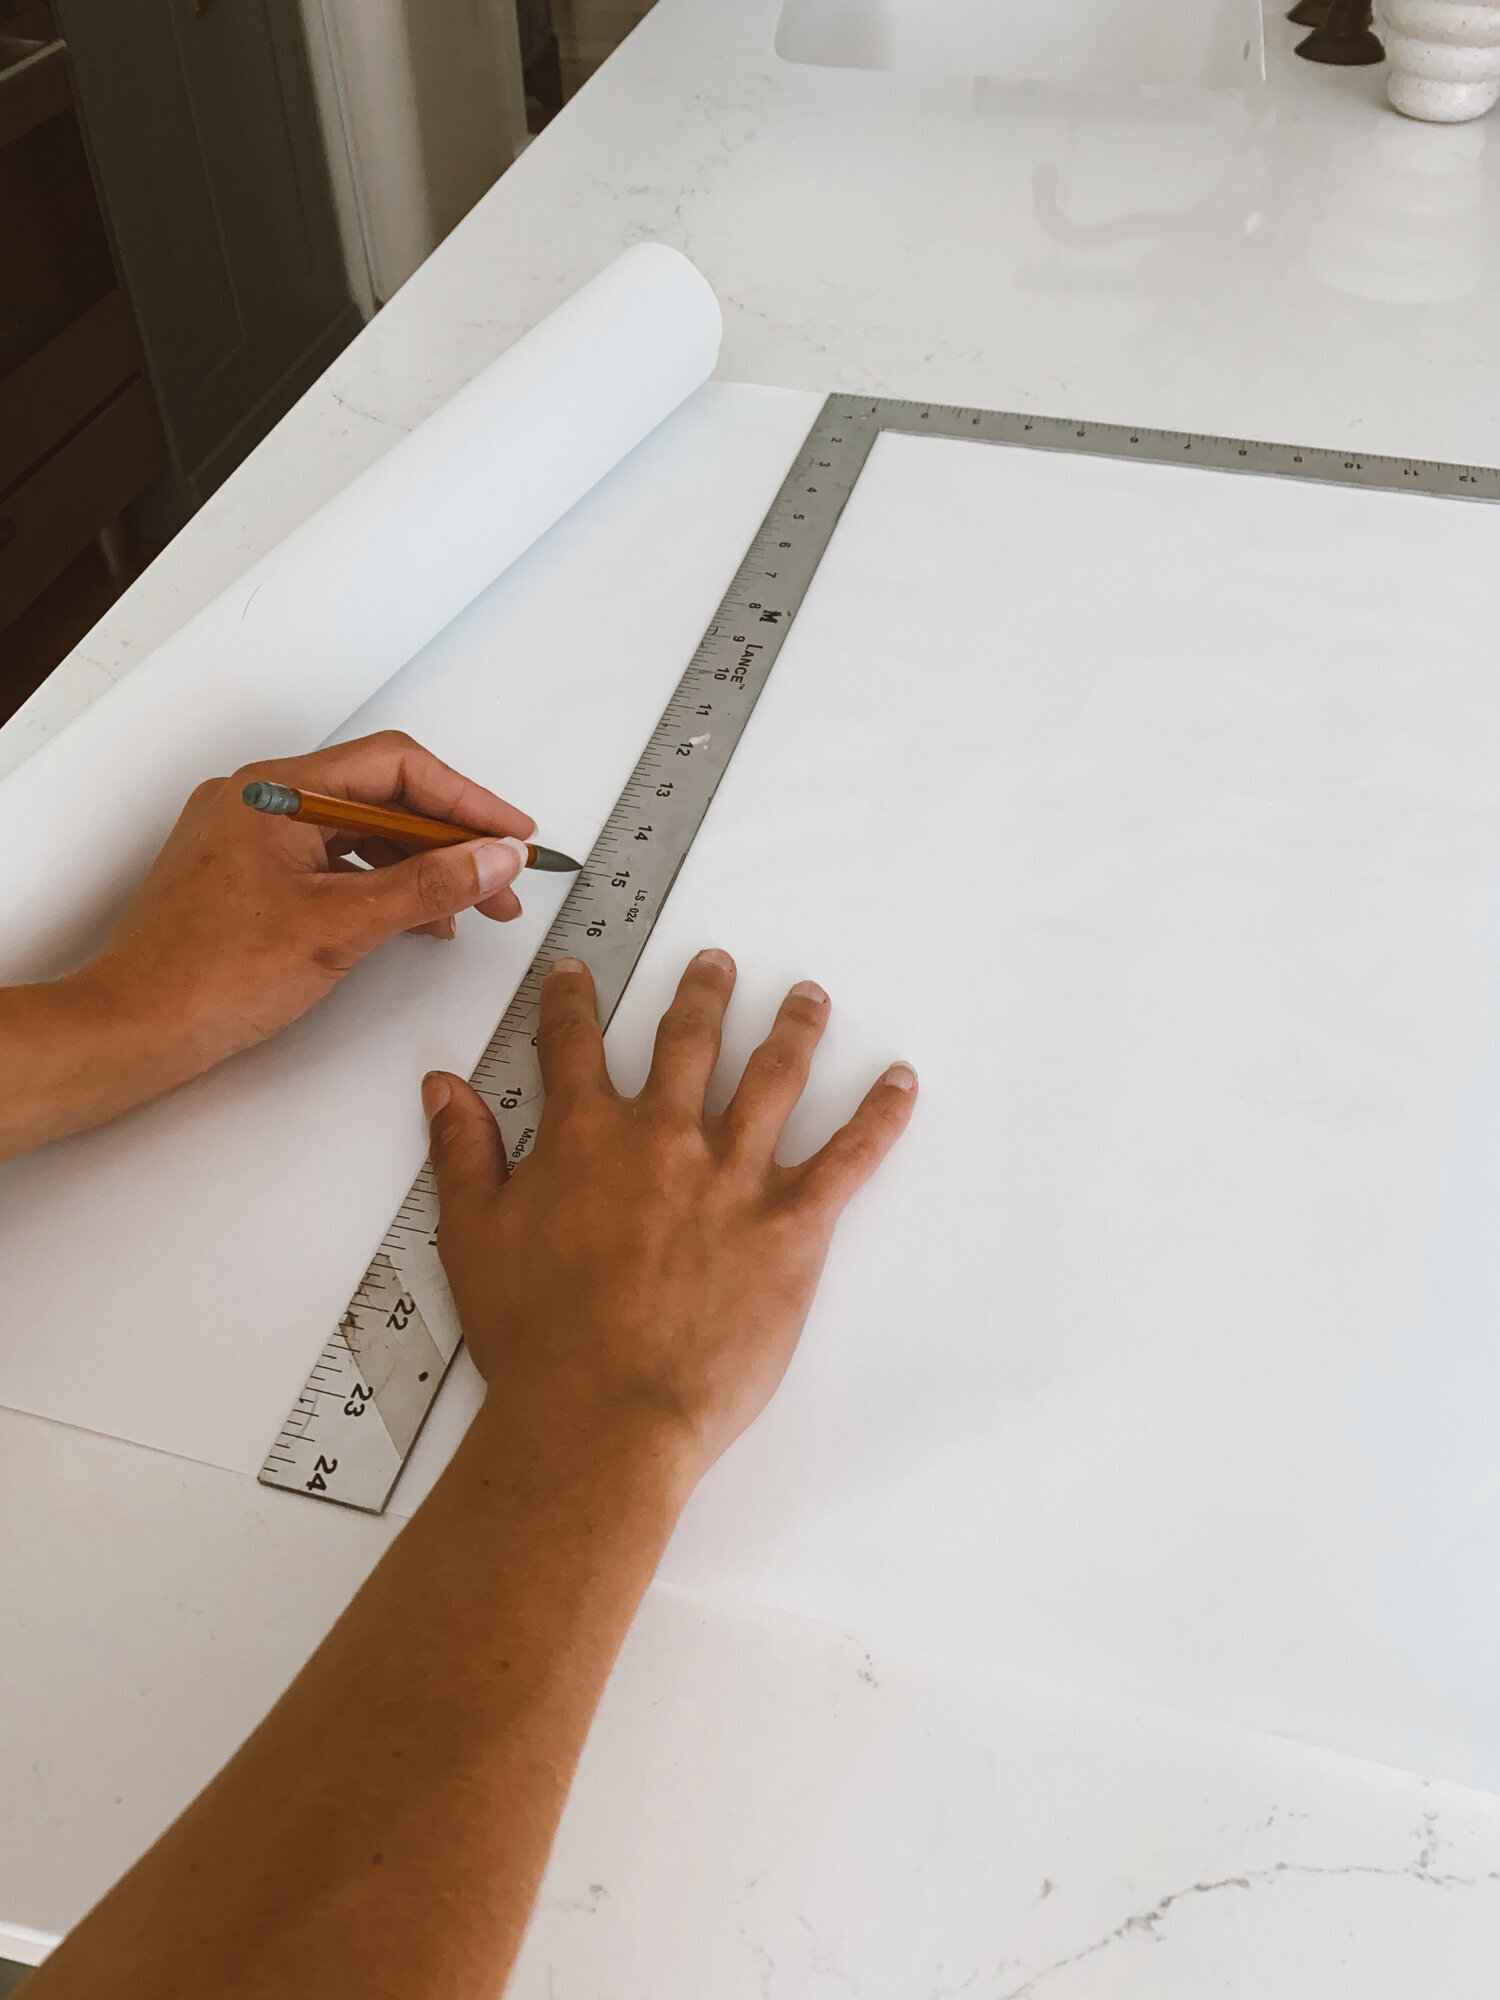
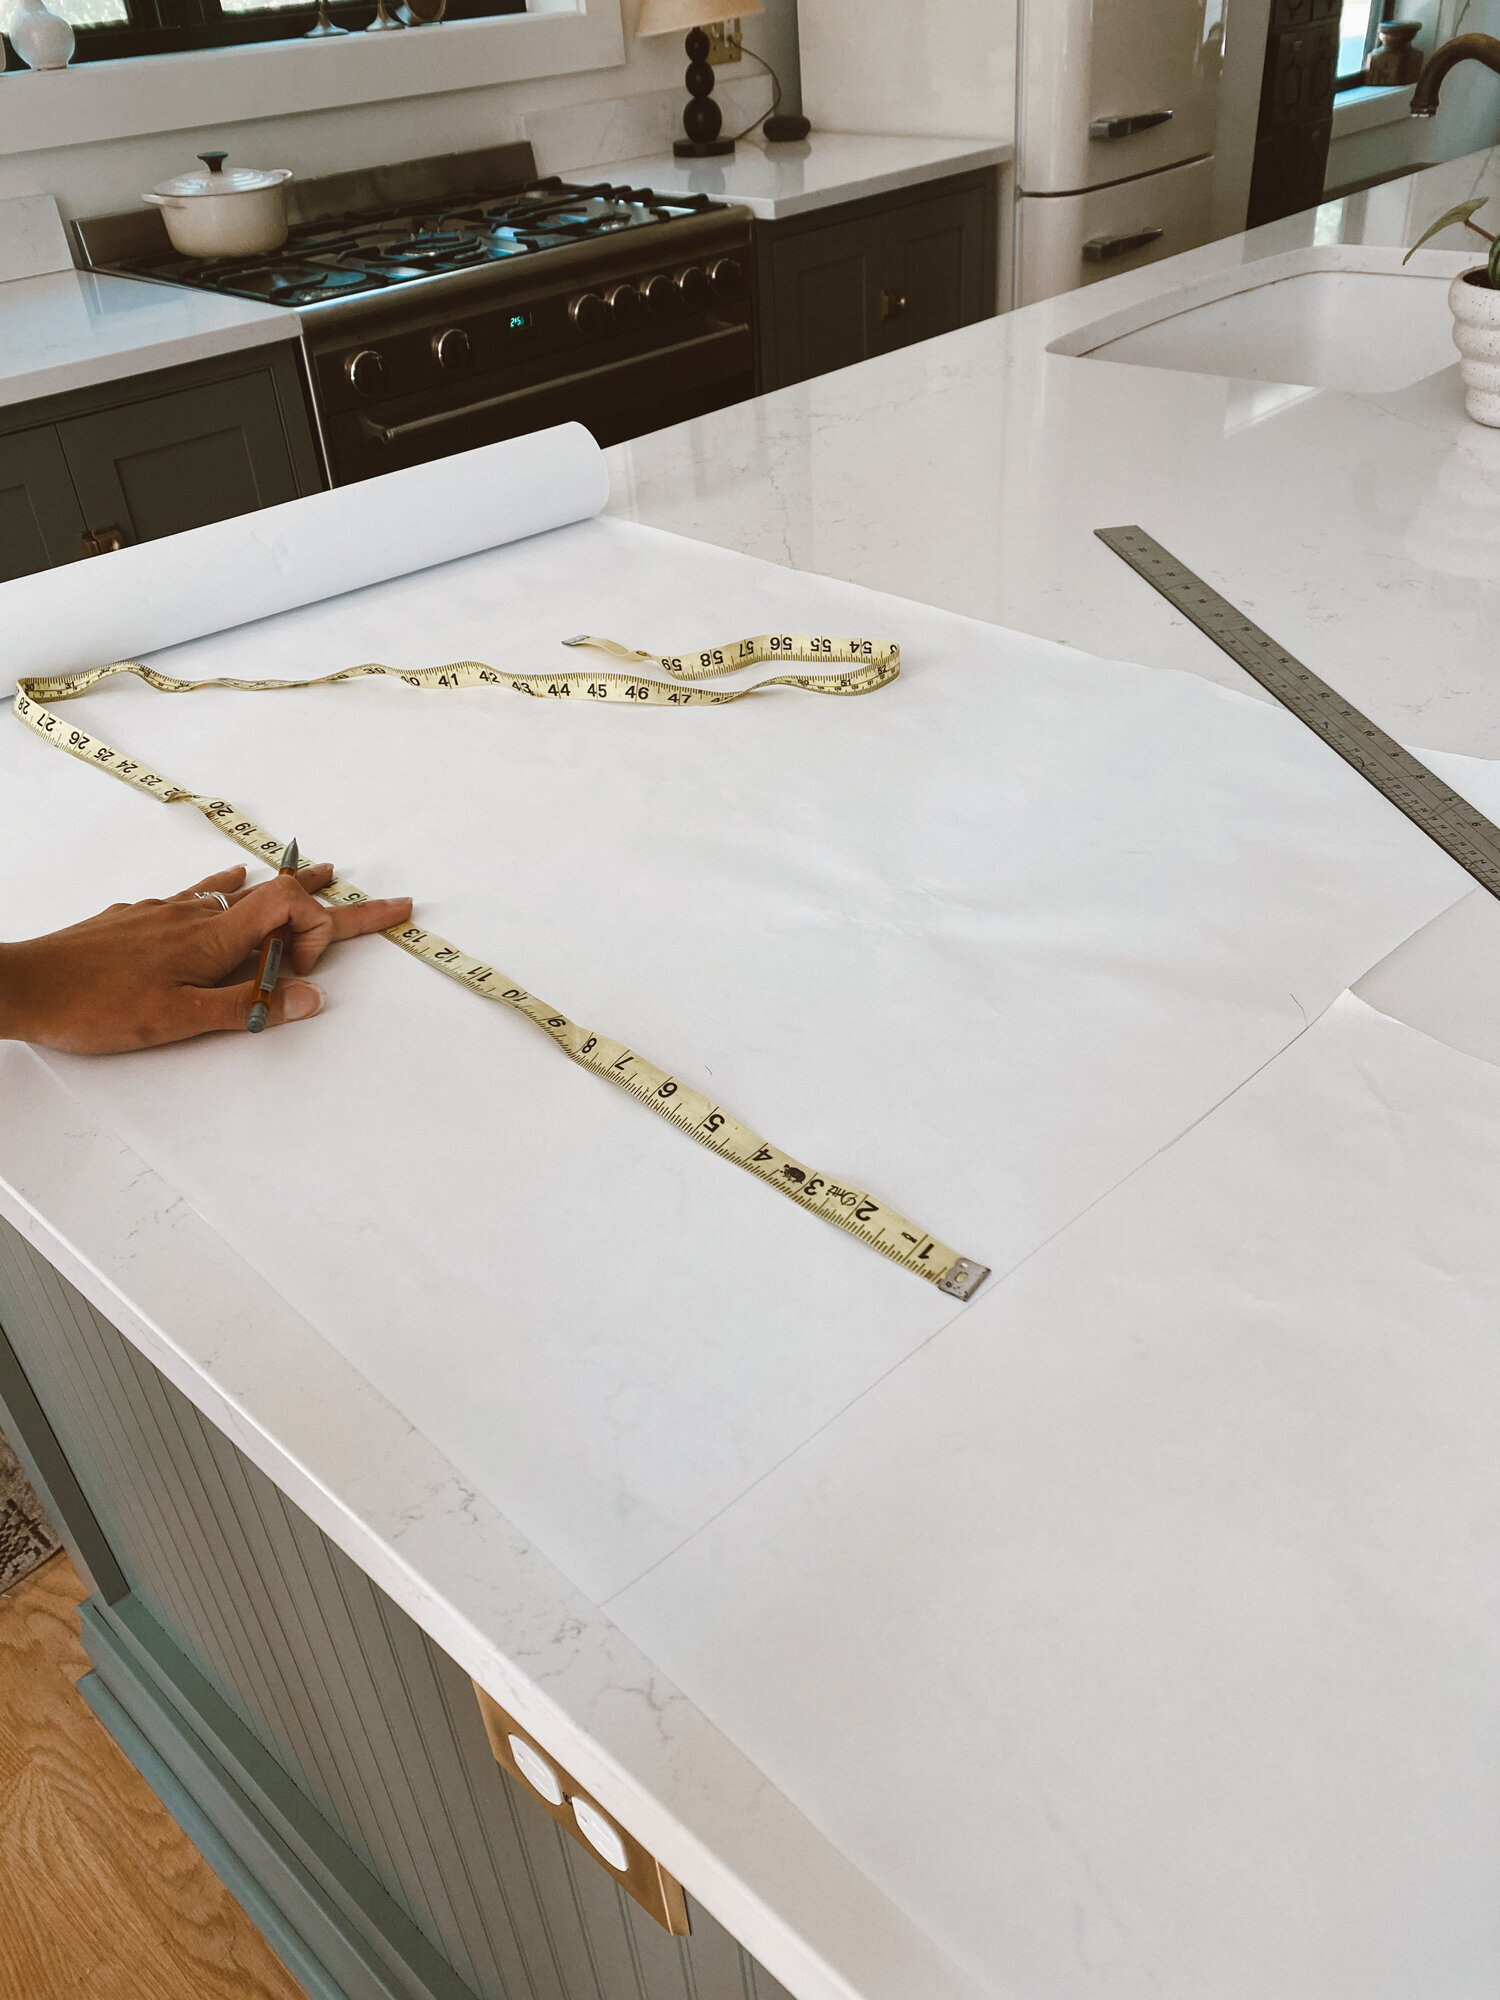
You want to make the patterns using your pattern paper, following the measurements below. I know this part can be super intimidating but try not to worry :) in reality just making a bunch of rectangles on paper. They just so happen to line up perfectly.
If your paper isn’t wide enough you may have to tape more paper to the sides! I had to do that with Loki’s pattern.


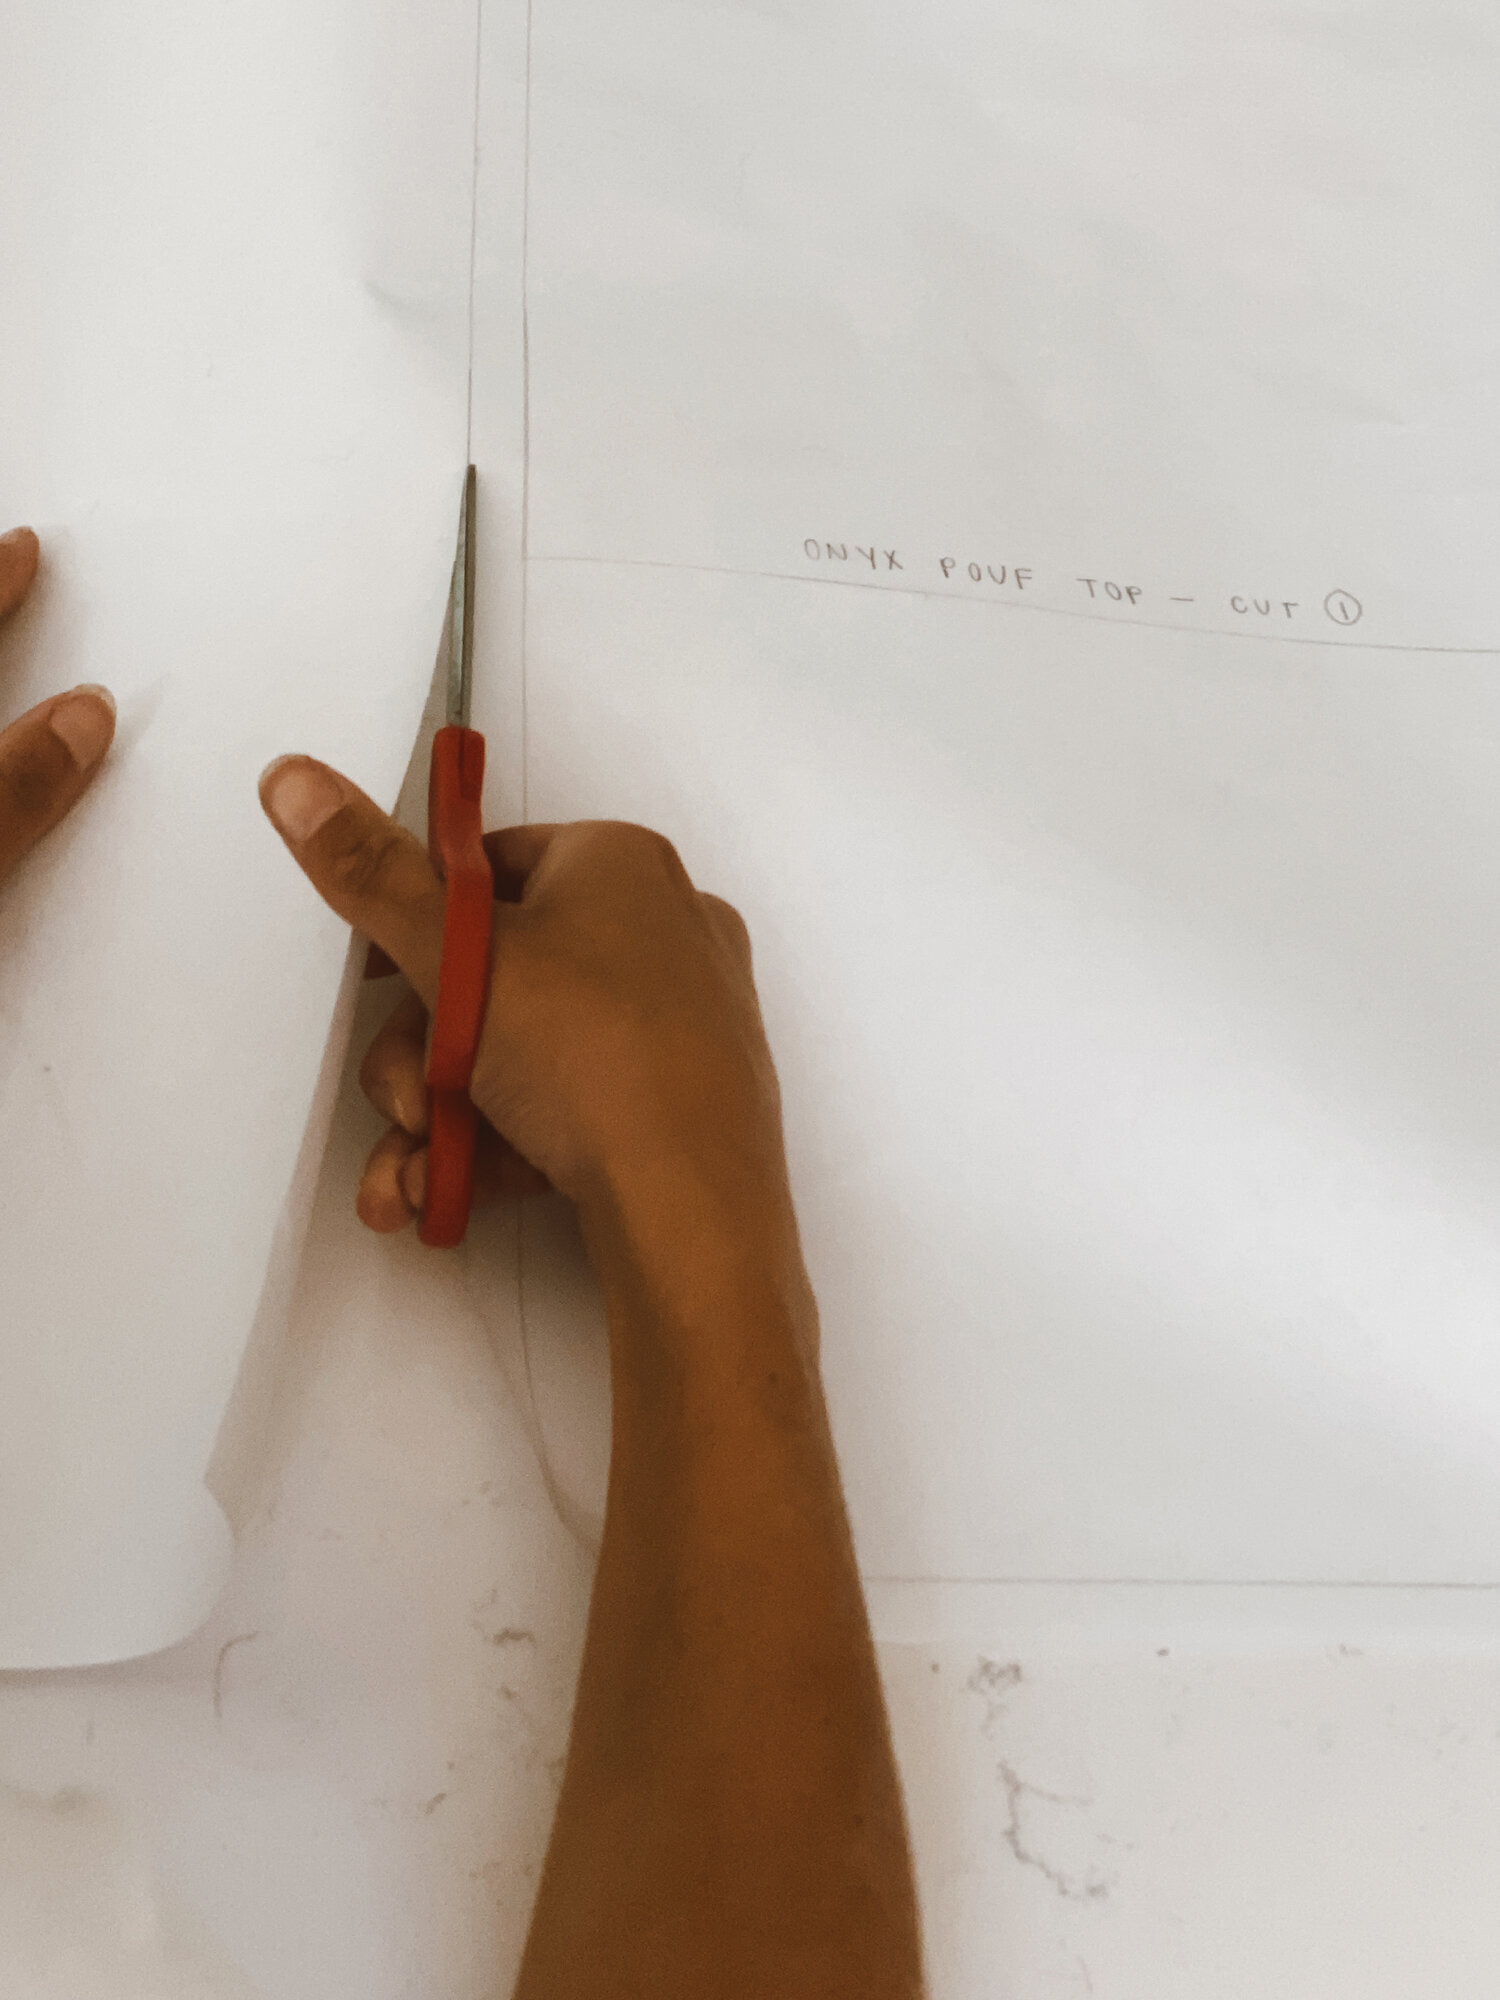
When you create your patterns, you can label them to help remember which piece is which! It also helps if you draw the seam allowance - 1/2” inside every edge. Although you don’t have to if you don’t want to! Doing this is just a reminder that your stitch line will be 1/2” inside the edge of the fabric.

When you’re making your patterns, it’s good to check back on your lines and make sure the measurements are correct before cutting everything out. I always mess up at least a few times every time I make a pattern haha! If you catch an error after you cut your pattern out, don’t worry! Just tape on some extra paper! Once you’re ready to go, cut all of the pieces out!
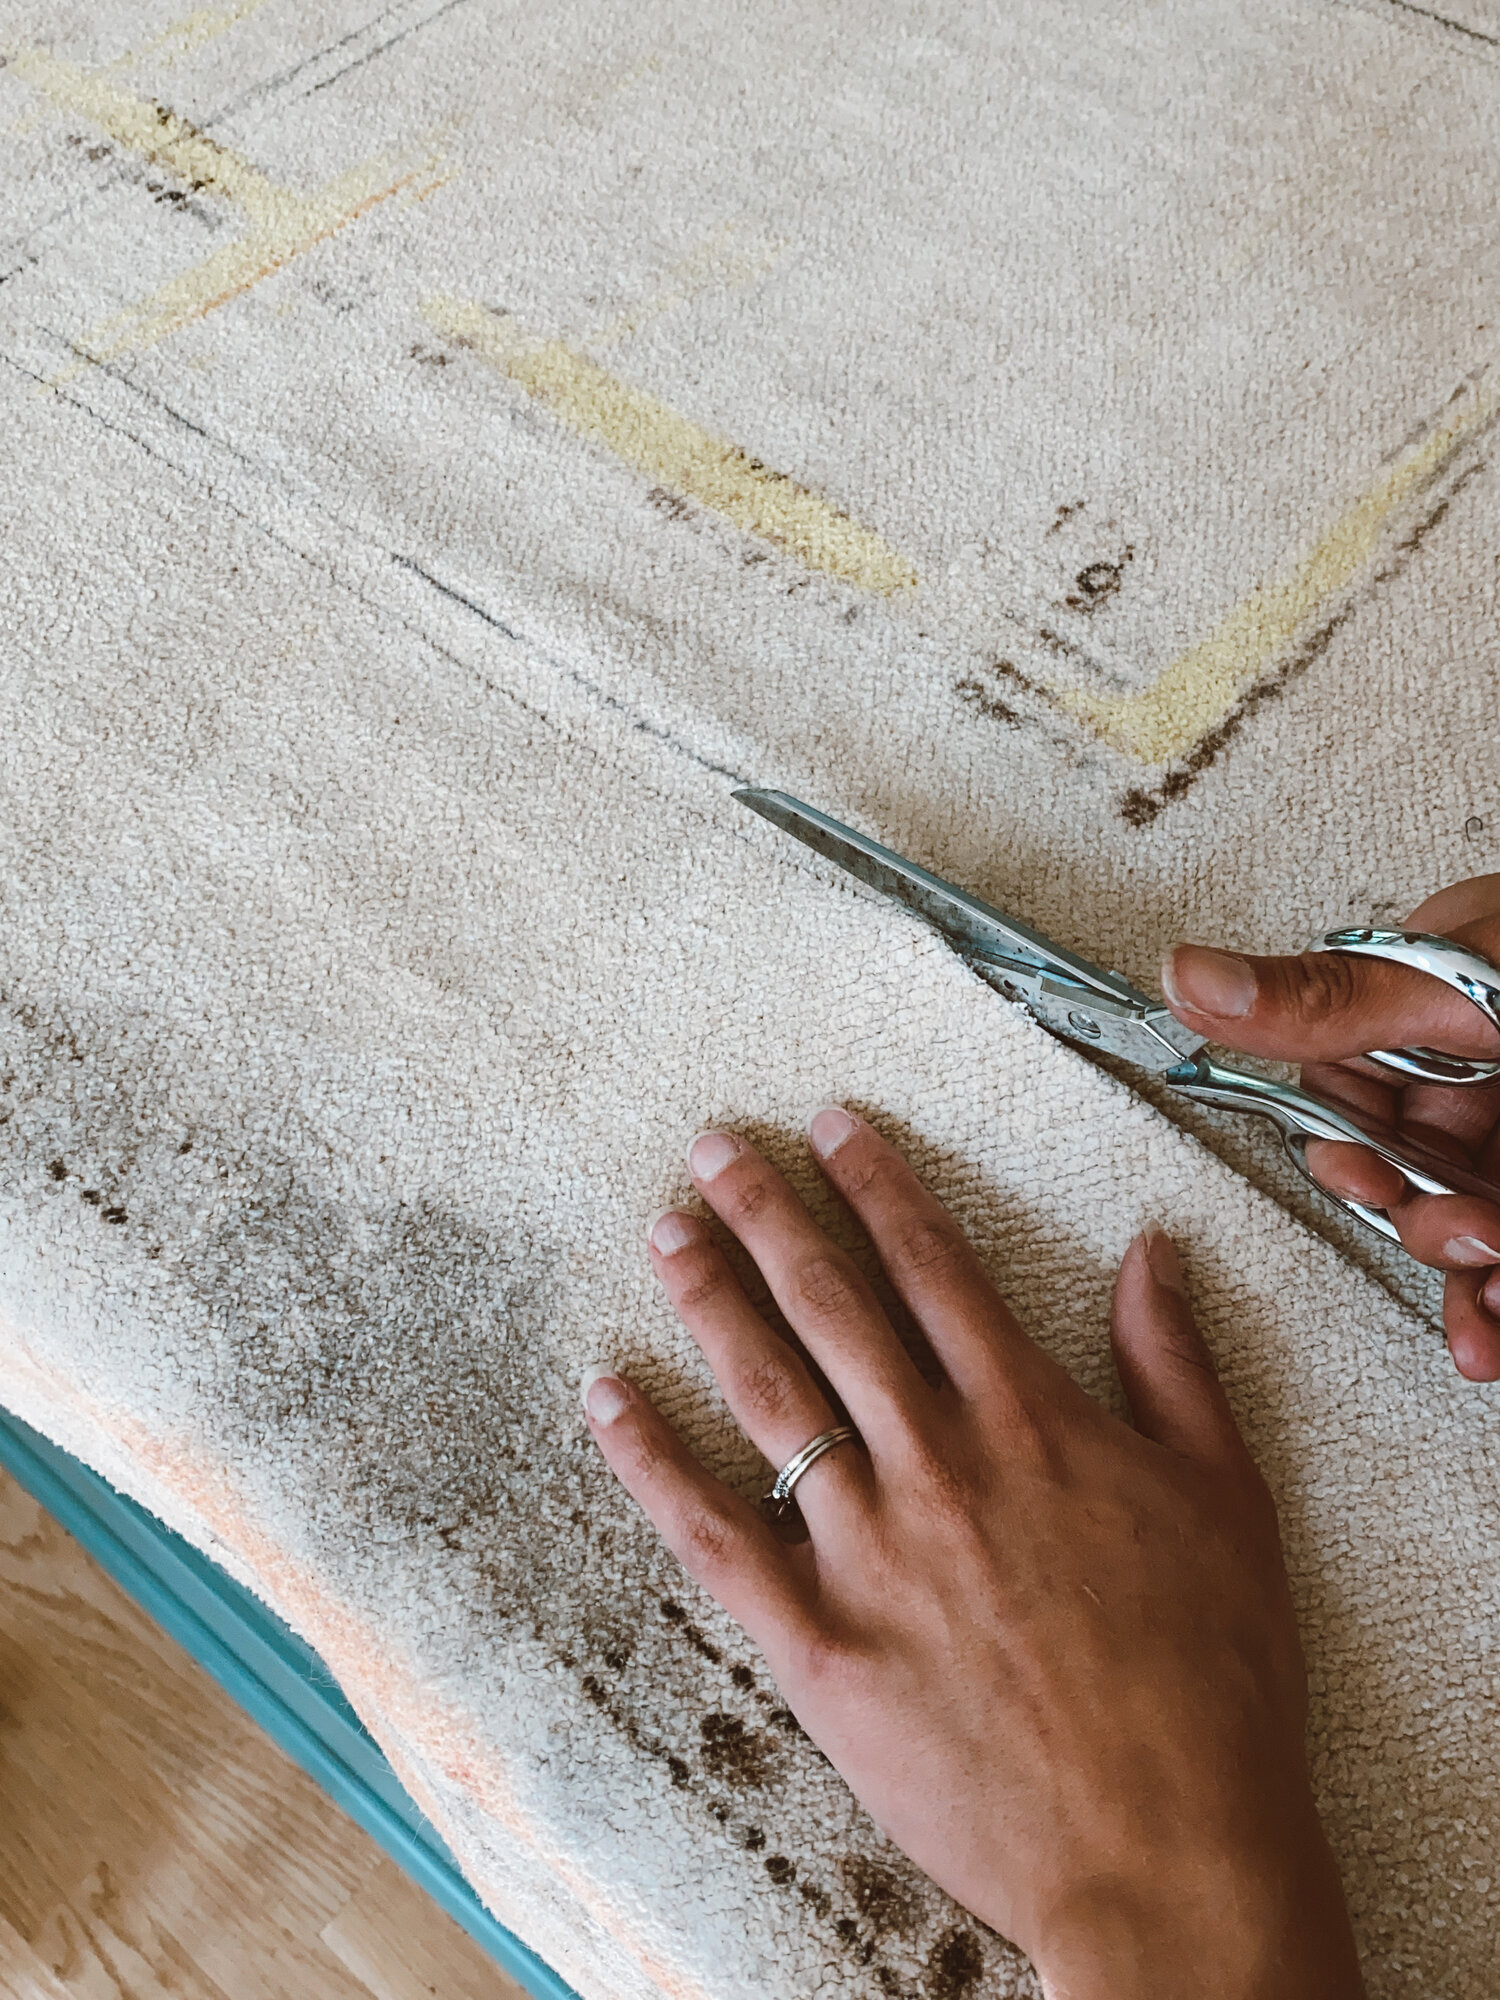
PART 2 - CUTTING THE FABRIC
Okay this part will be a breeze because you have your pattern pieces! Next, all you have to do is set your pattern on top of the fabric, trace them, then cut it out! I like to use any heavy object I can find to weigh down the paper. :) If you’re hand sewing, after you cut out your fabric, I recommend going back and drawing 1/2” lines from the edge of your fabric edges on the wrong side of the fabric. This is the side you don’t want to see once your pouf is finished. Since you’re hand sewing this will help you keep a straight line!

Okay now I’ll meet you back on my IGTV for the sewing part!!!